Escape in your Art: 7 Steps to a Perfect Seascape
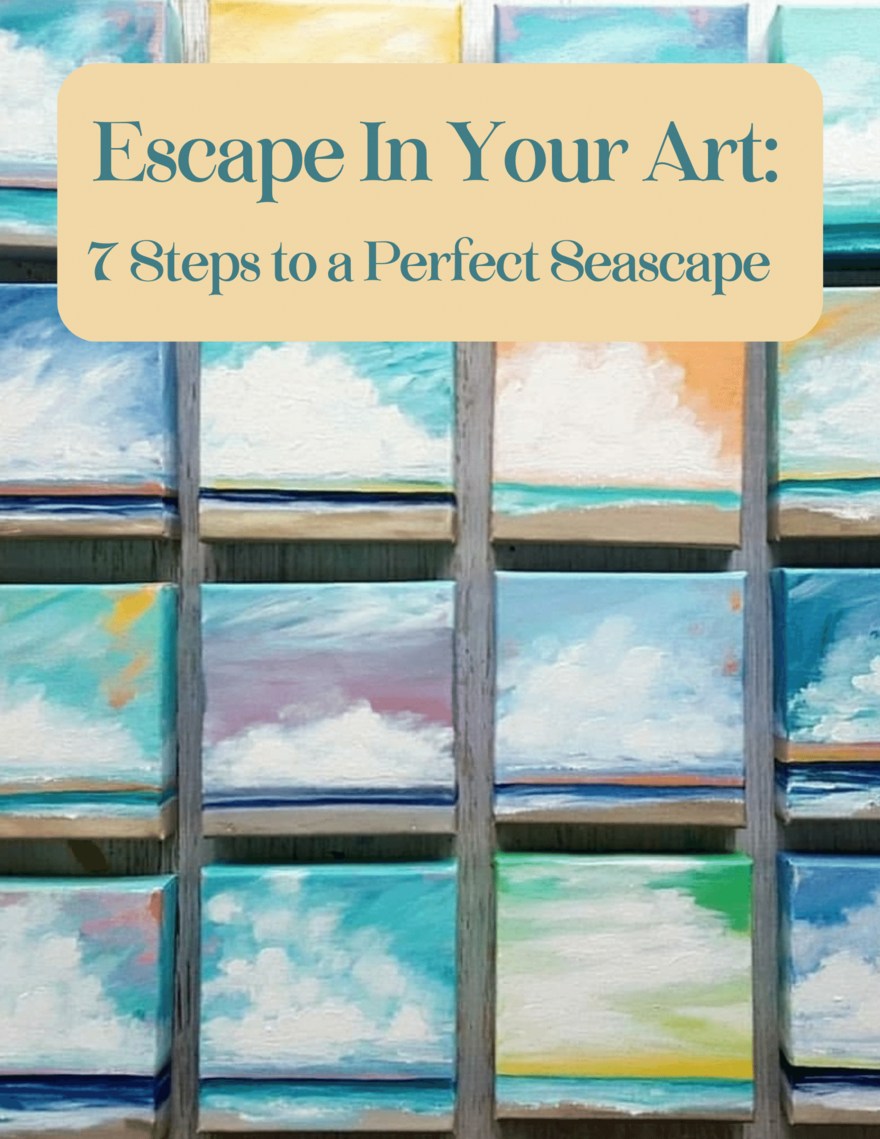
The sky is never the same, and the clouds are constantly changing, so the story of your painting journey is still to be made.
There are hundreds of ways to approach your artwork. Each one is unique just like the sky itself.
Our method is also only one of the hundreds of ways to paint. It's your job to take these ideas and make them your own, we just want to spark a fire for you if you’re feeling a little burnt out!
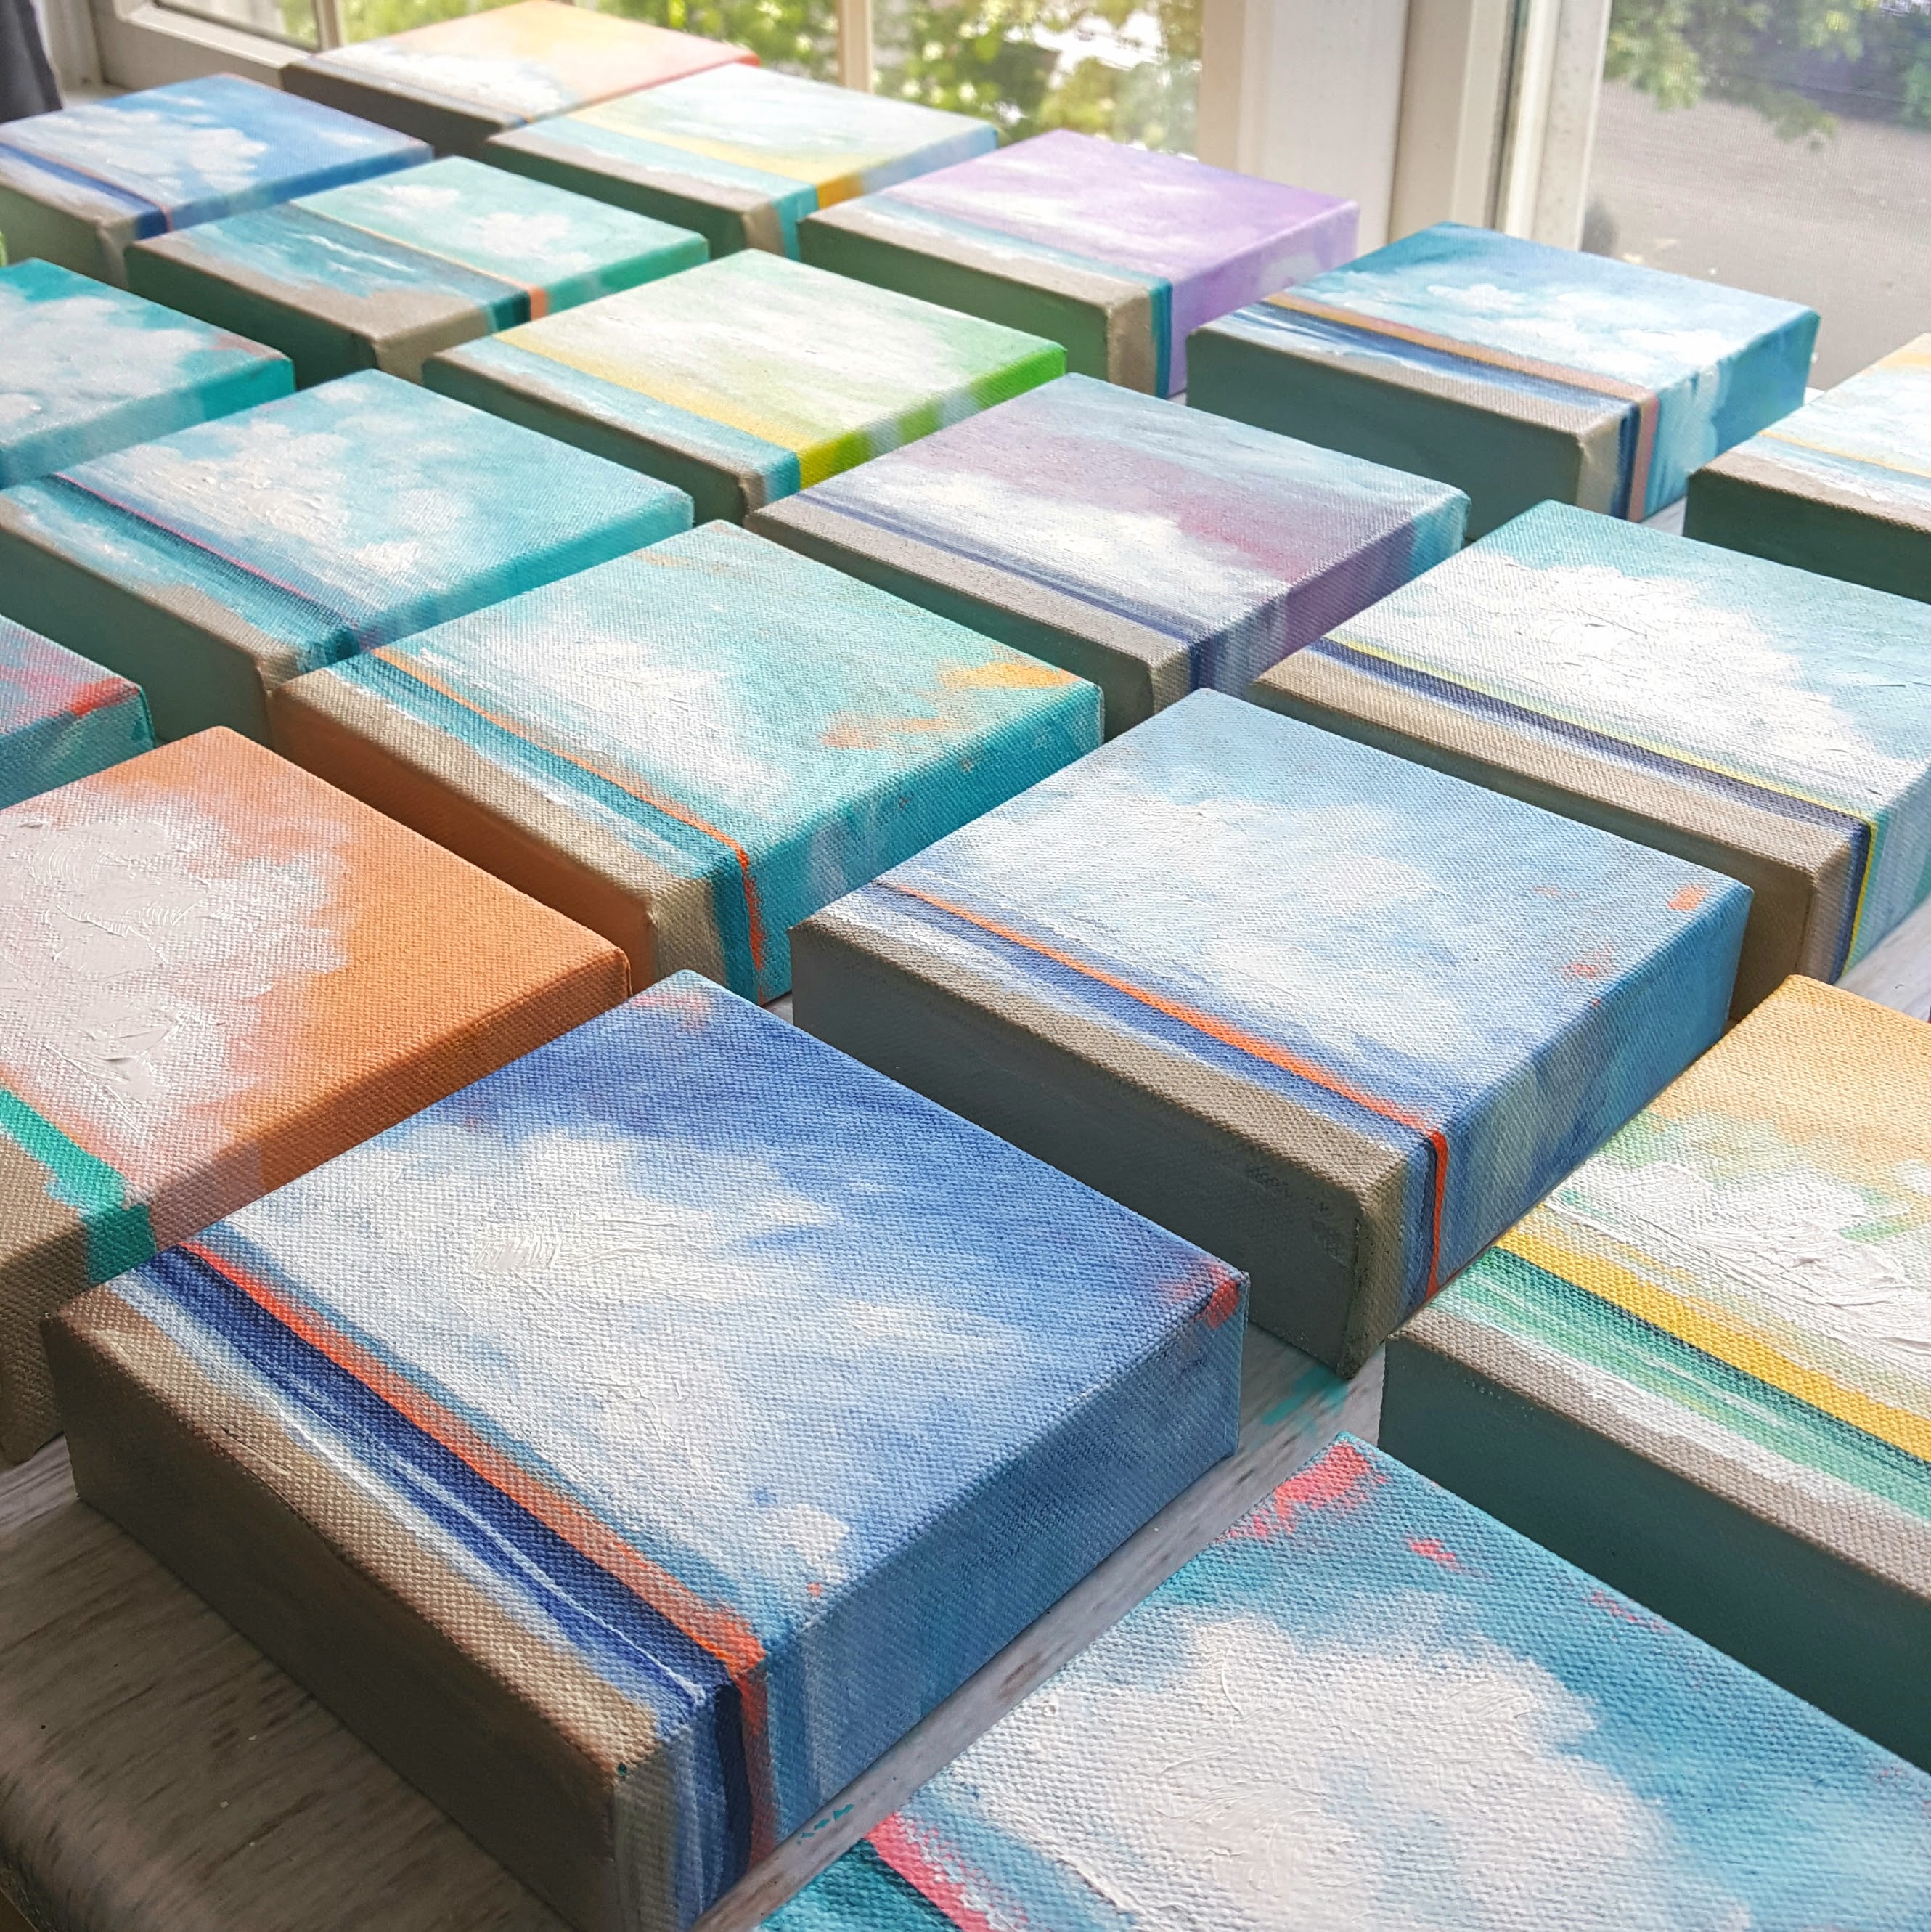
Try out these quick and easy steps for picking up your paintbrush and working through the steps to create a delightful, ocean-inspired painting.
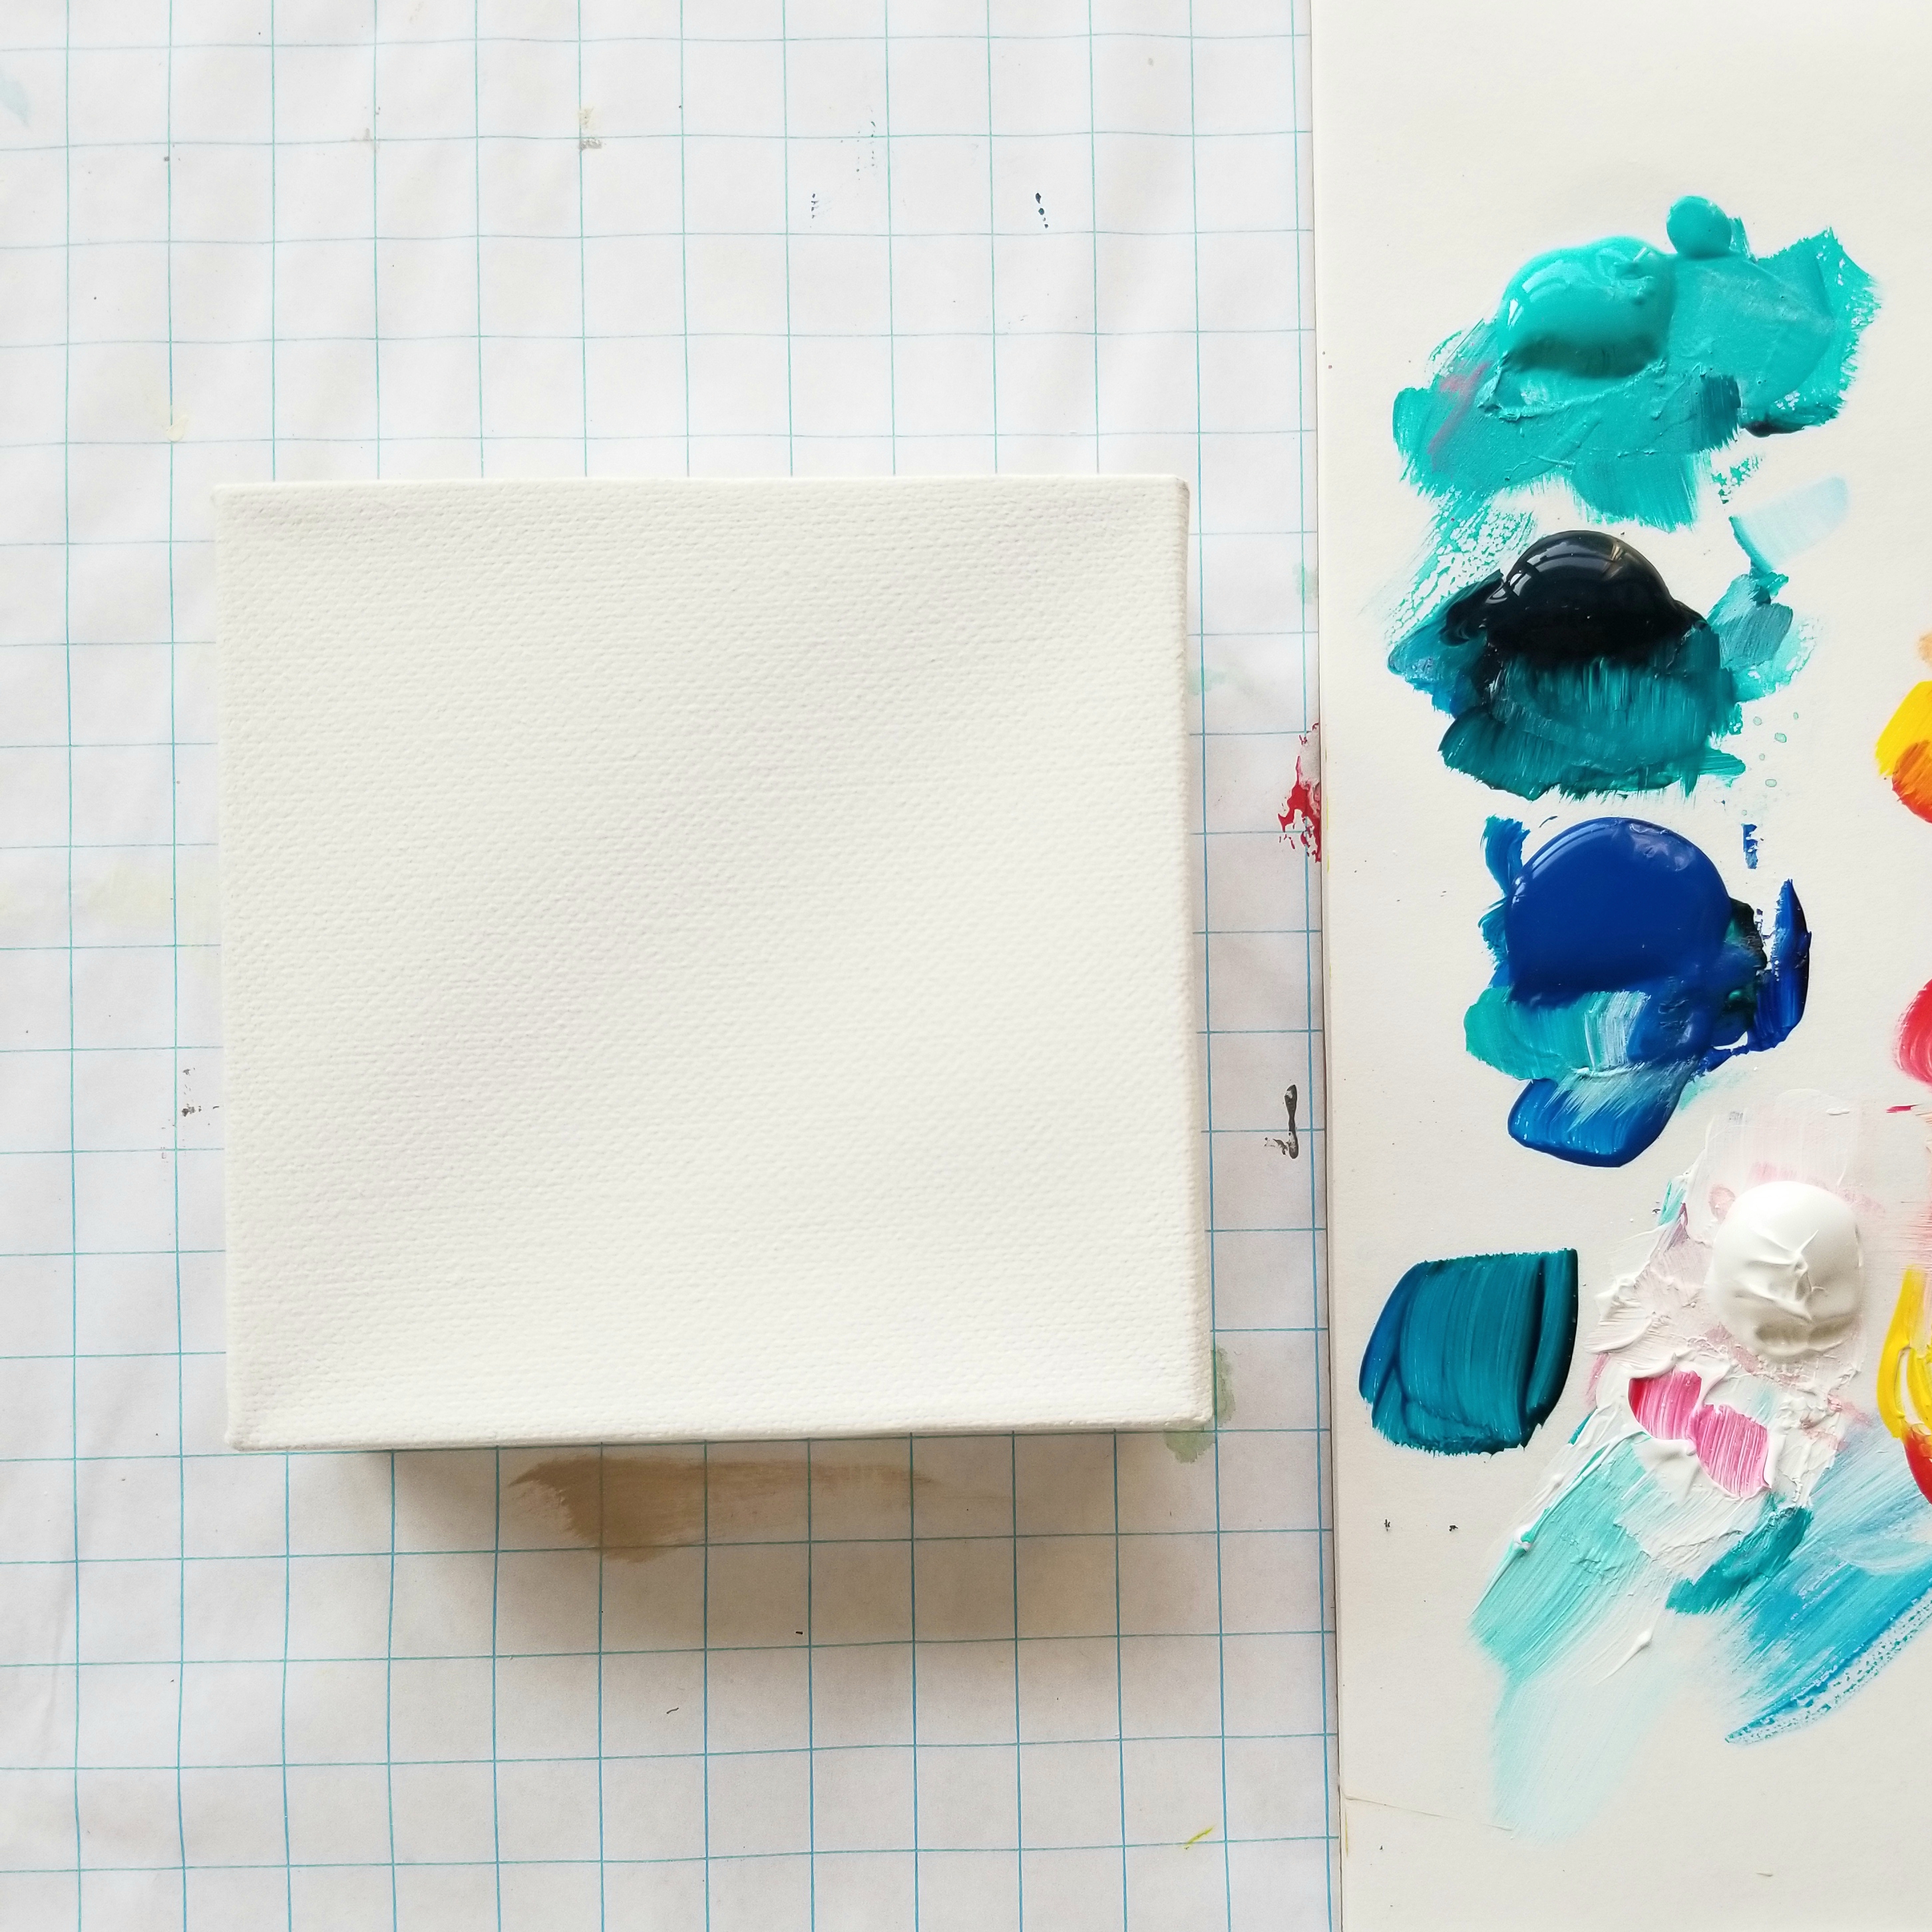
STEP ONE 🔵 Choose any blank canvas size. For our example, we used a 4"x4" gallery-wrapped canvas. Always add another coat of gesso to your surface, even if the canvas comes pre-gessoed. This reinforces the canvas and makes a smoother surface.
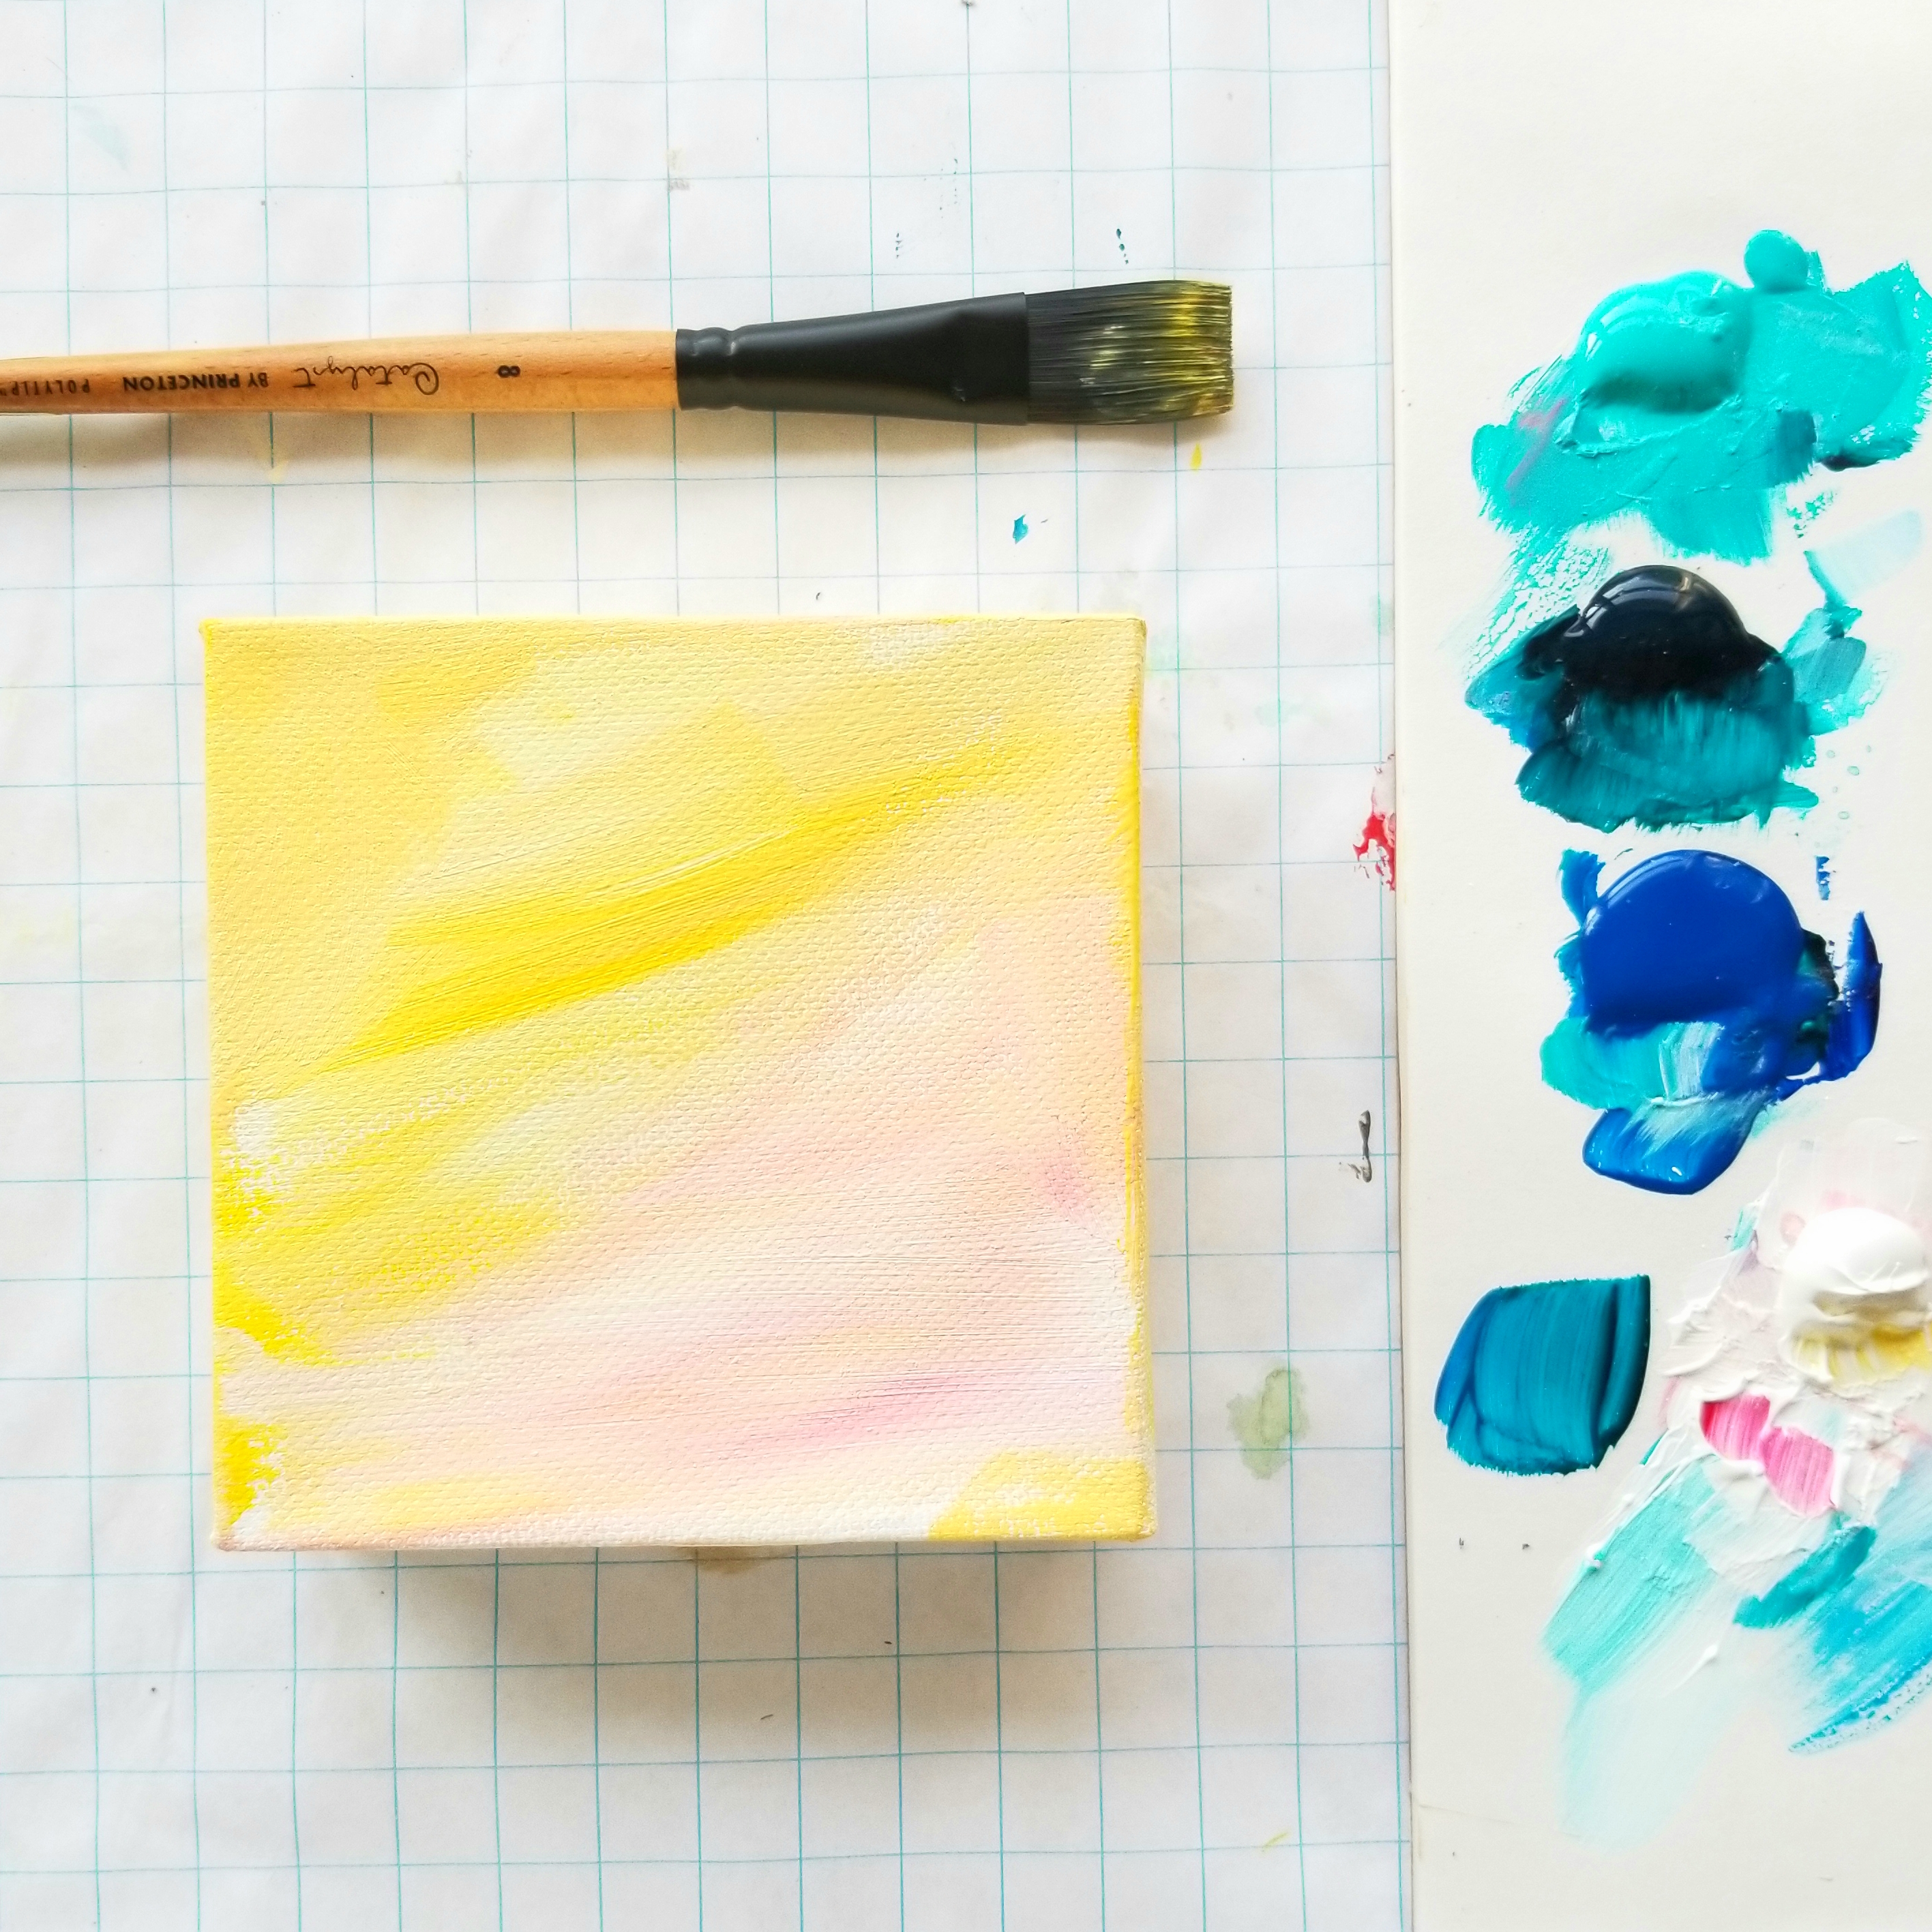
STEP TWO 🔵 Work your way up…start with painting a ground color. The "ground" is the color you paint the canvas as an underlayer. We like selecting a warm color to start. Mix the colors right on your canvas to make interesting marks. A little yellow and magenta plus white will create a beautiful start.
STEP THREE 🔵 Another sandy layer. Adding a mix of brown or gray and white works well for the "beach" of a seascape. You only need to paint about a half inch up from the bottom (don’t forget to paint all of your sides if you use a gallery-wrapped canvas). Your lines don't need to be straight as the ocean will go over this layer, and nothing about the ocean’s ebb and flow is straight and perfect!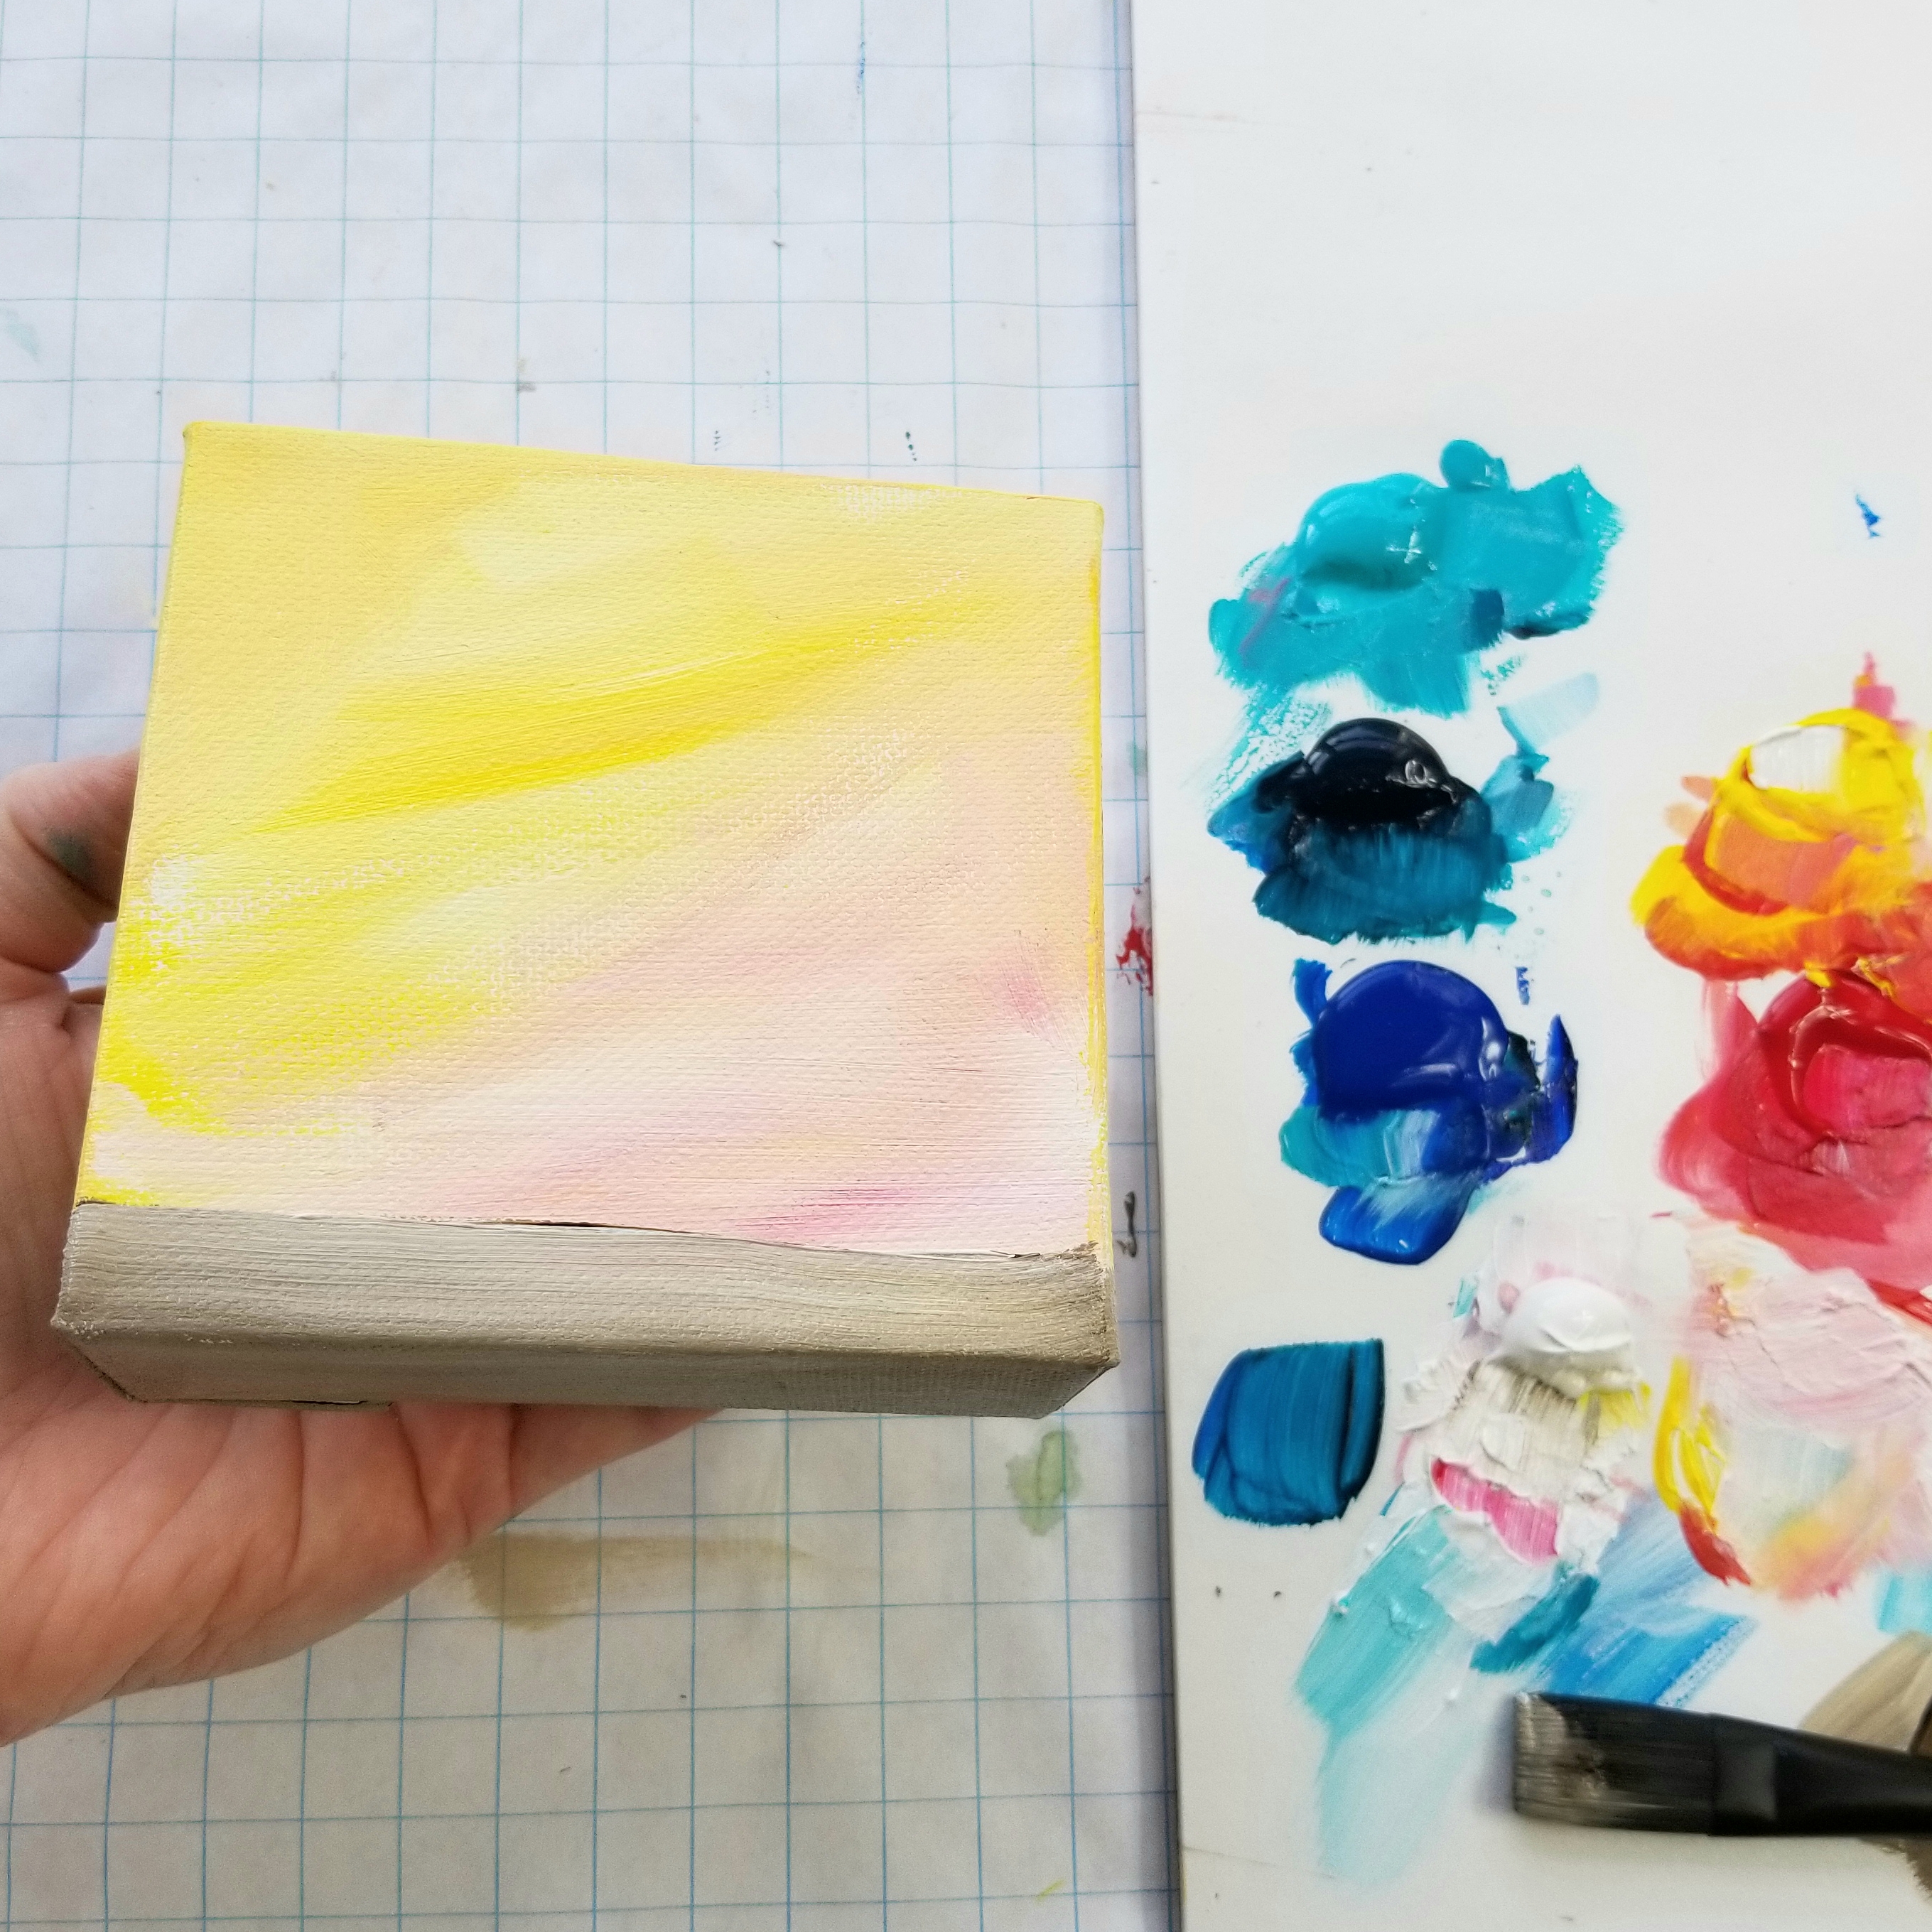
STEP FOUR 🔵 Let’s start dipping our toes in the water… Our next layer will be creating the ocean. The ocean horizon is a dark straight line. Allow the paint to come down over the sand while adding some white to make it lighter in the foreground. *Remember to leave a gap where the ocean horizon ends and where you start your sky, to allow the underpainting to create the illusion of a glowing sun behind the clouds.
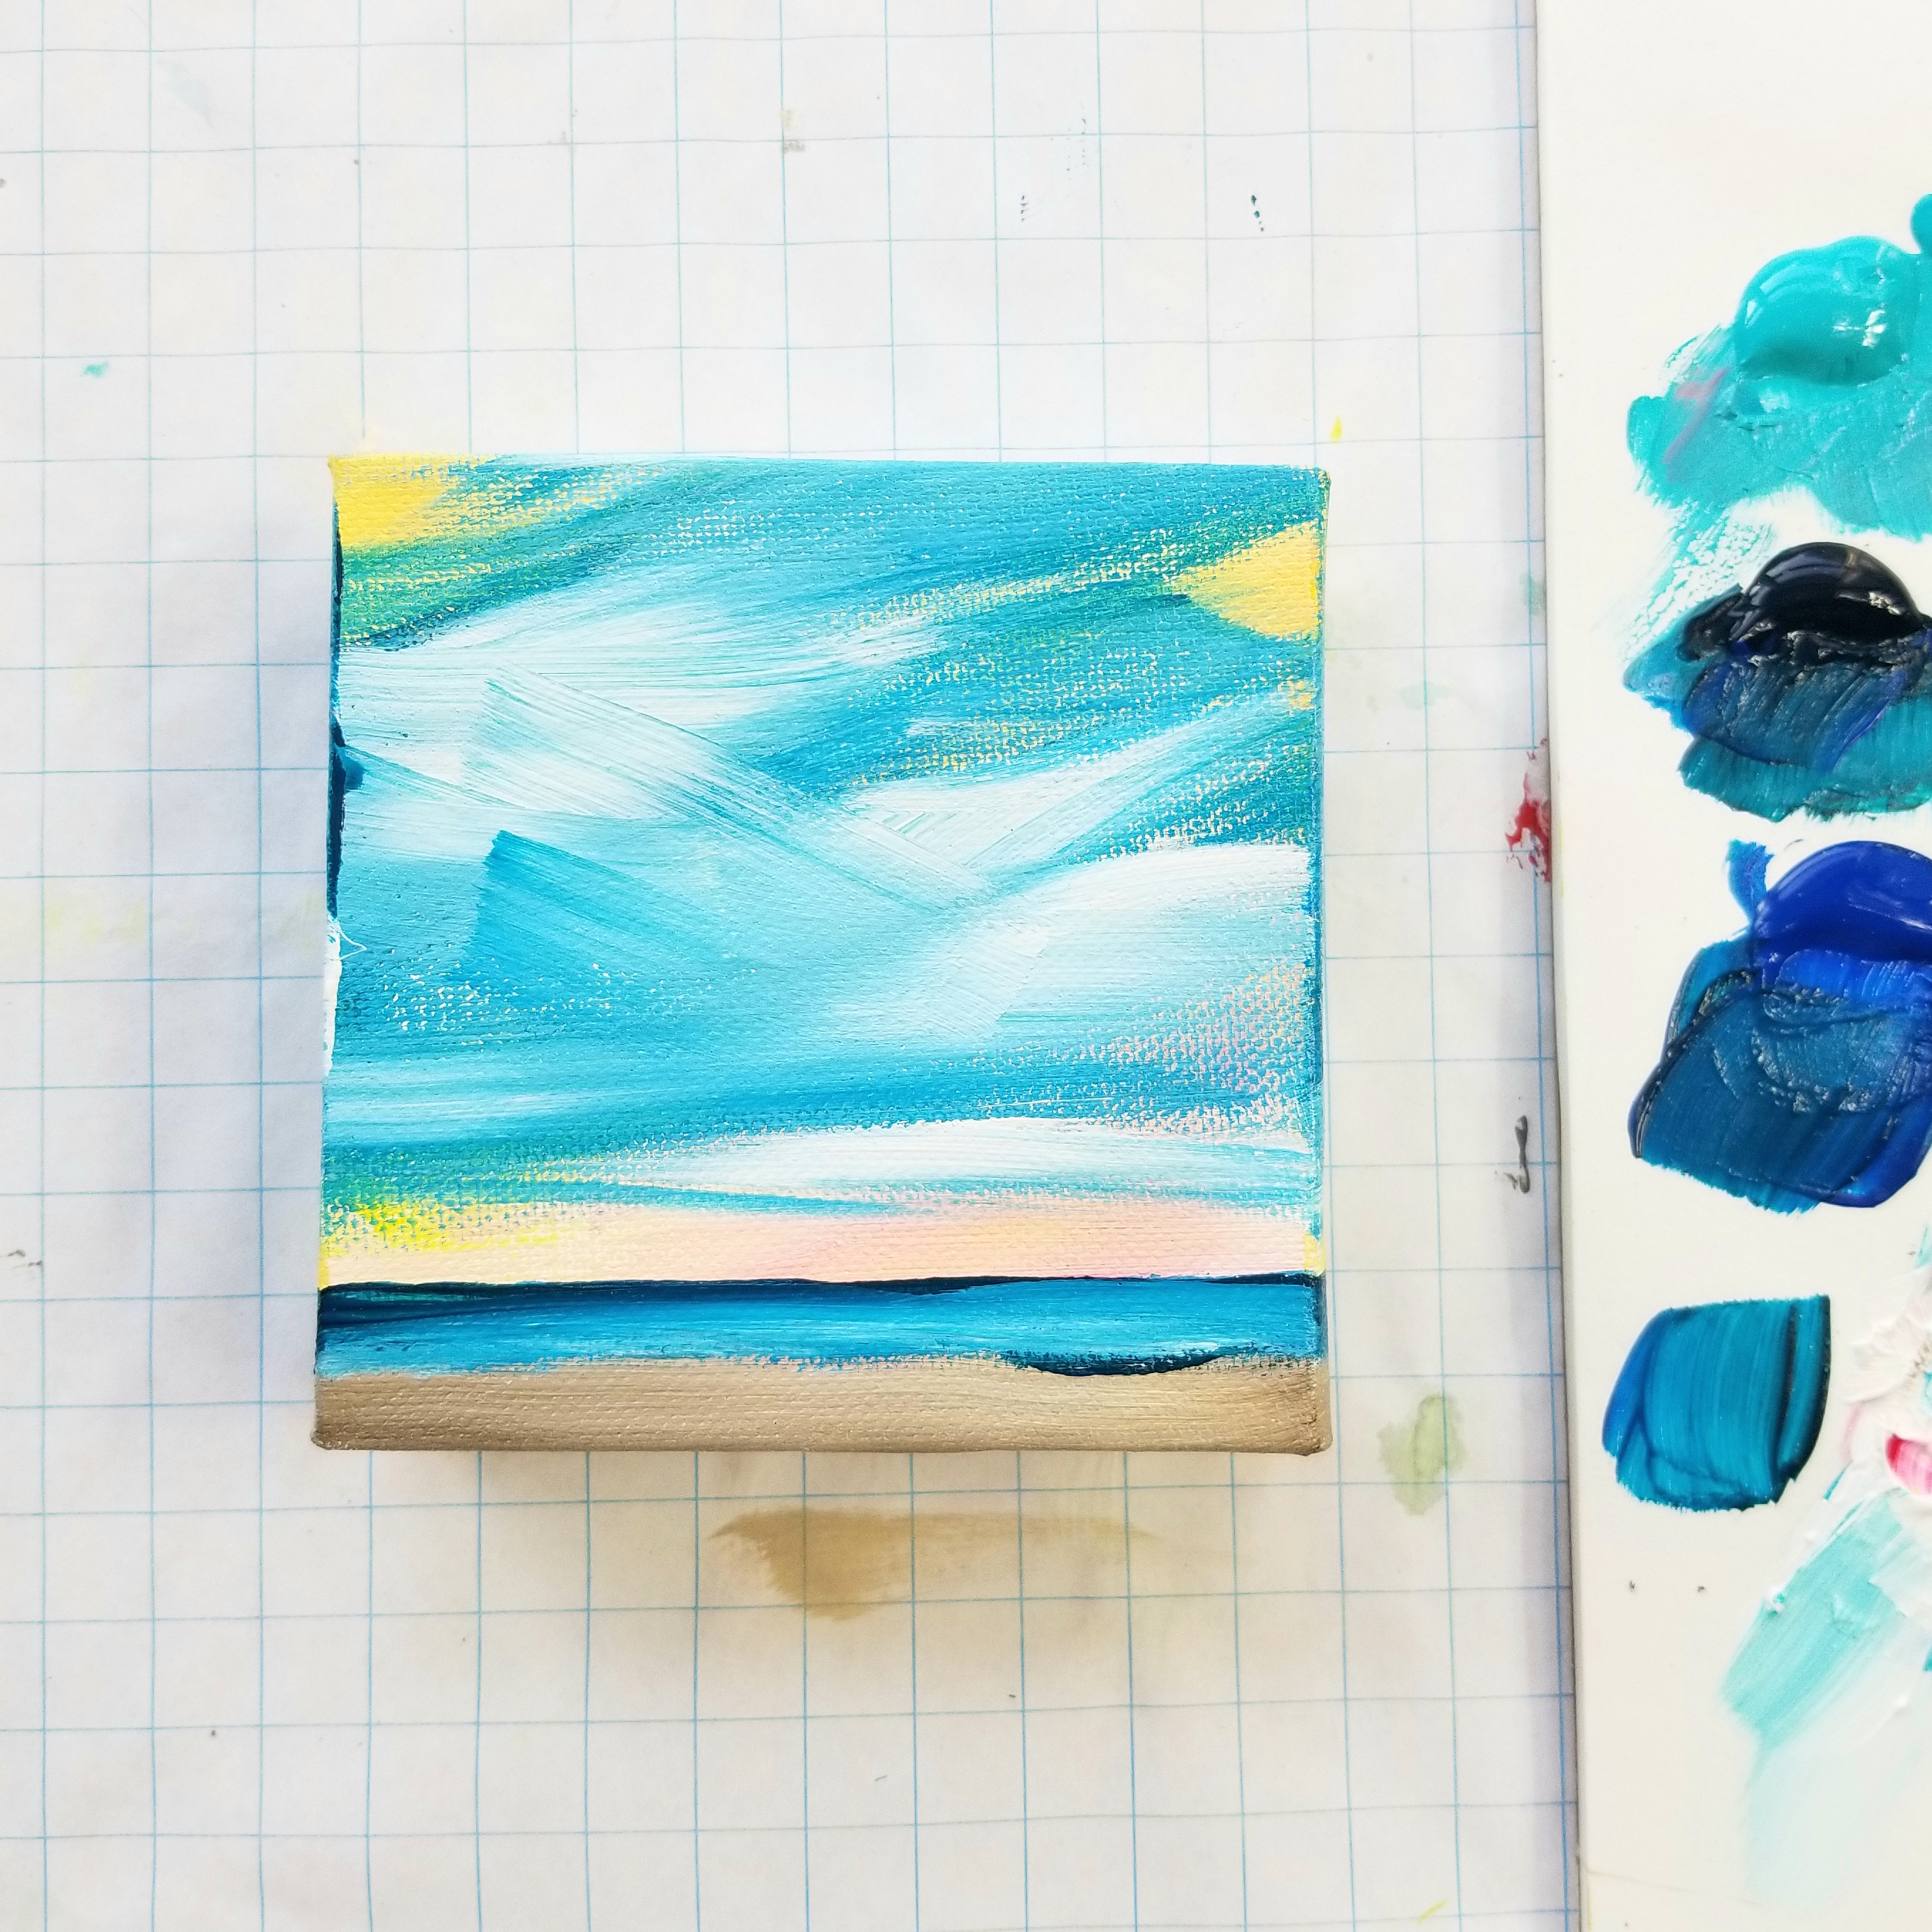
STEP FIVE 🔵 CREATING THE CLOUDY SKY This is the fun part. Choose a blue and mix with white right on your canvas. If you premix, the colors will be flat. Make some interesting swoop marks with your brush and don't blend the paint - allow the striations, streaks and marks to happen. This is what keeps it interesting!
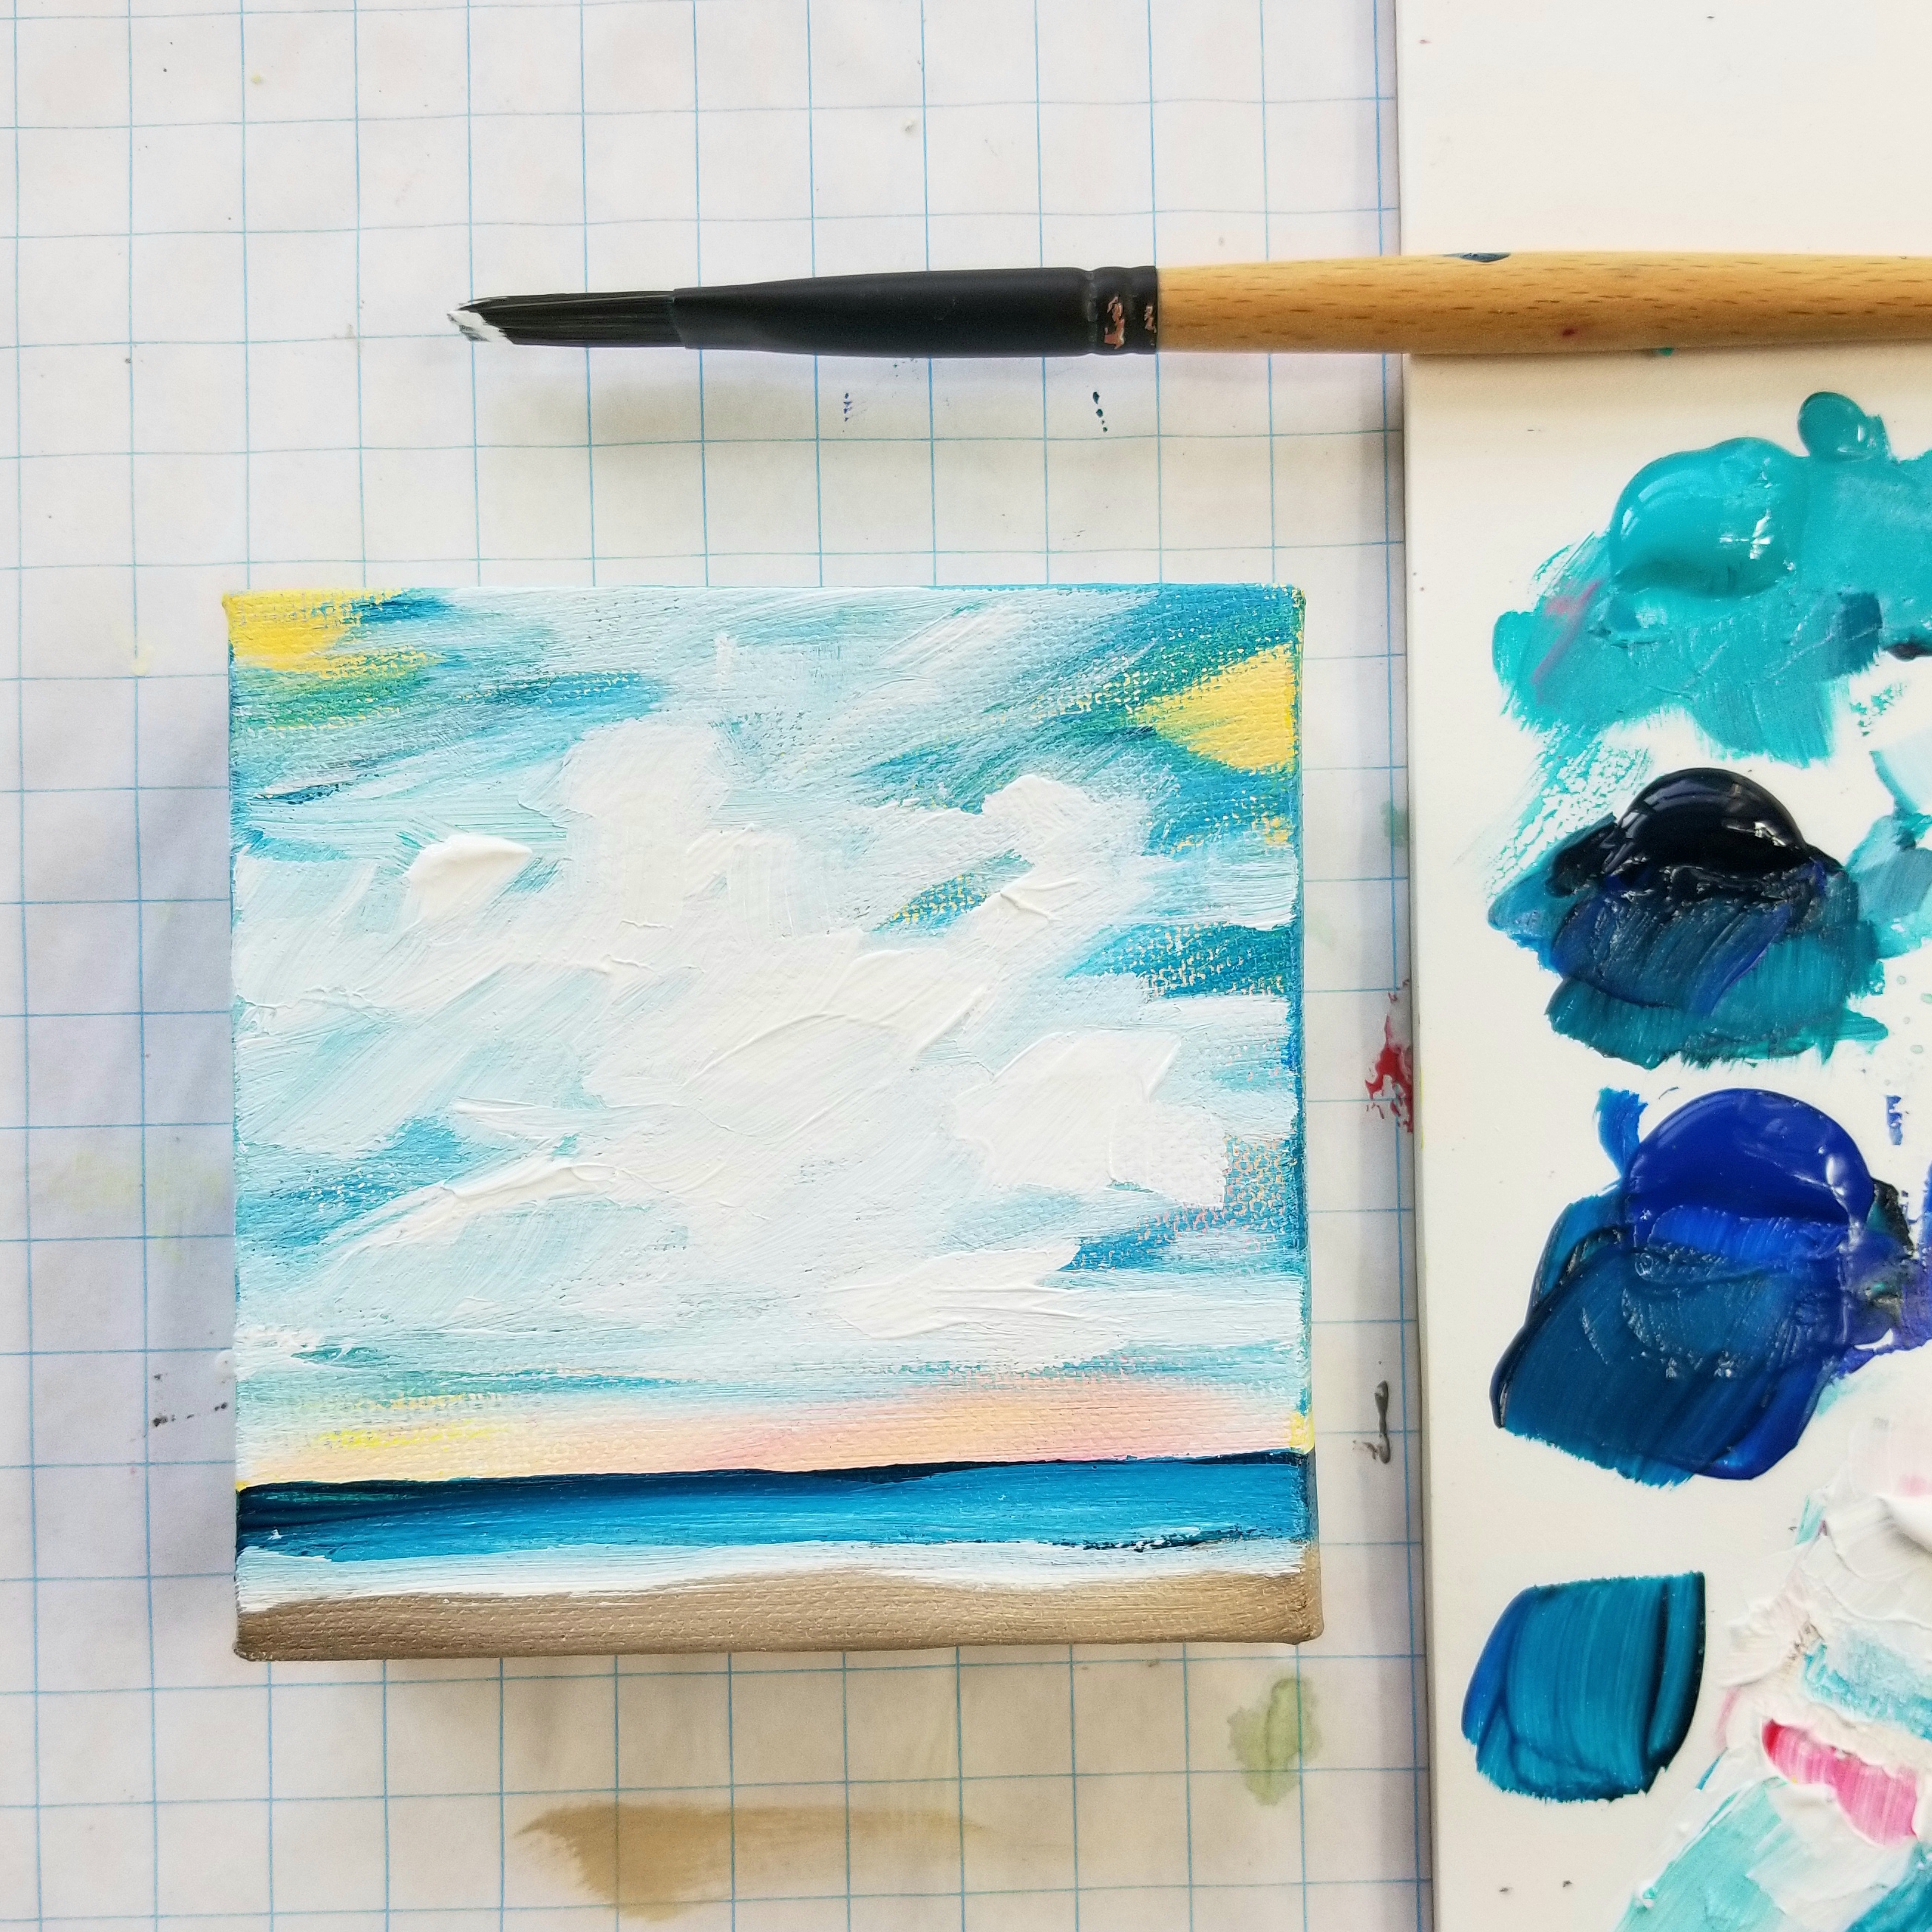
STEP SIX 🔵 Ready to build clouds? Let the brushstrokes inspire your next move. Some of those marks may already be saying that they are clouds. Start to add more layers of white. Do not make little circles or you will have sheep in your sky! Vary your marks and think about composition. Uneven is more interesting.
 "
"
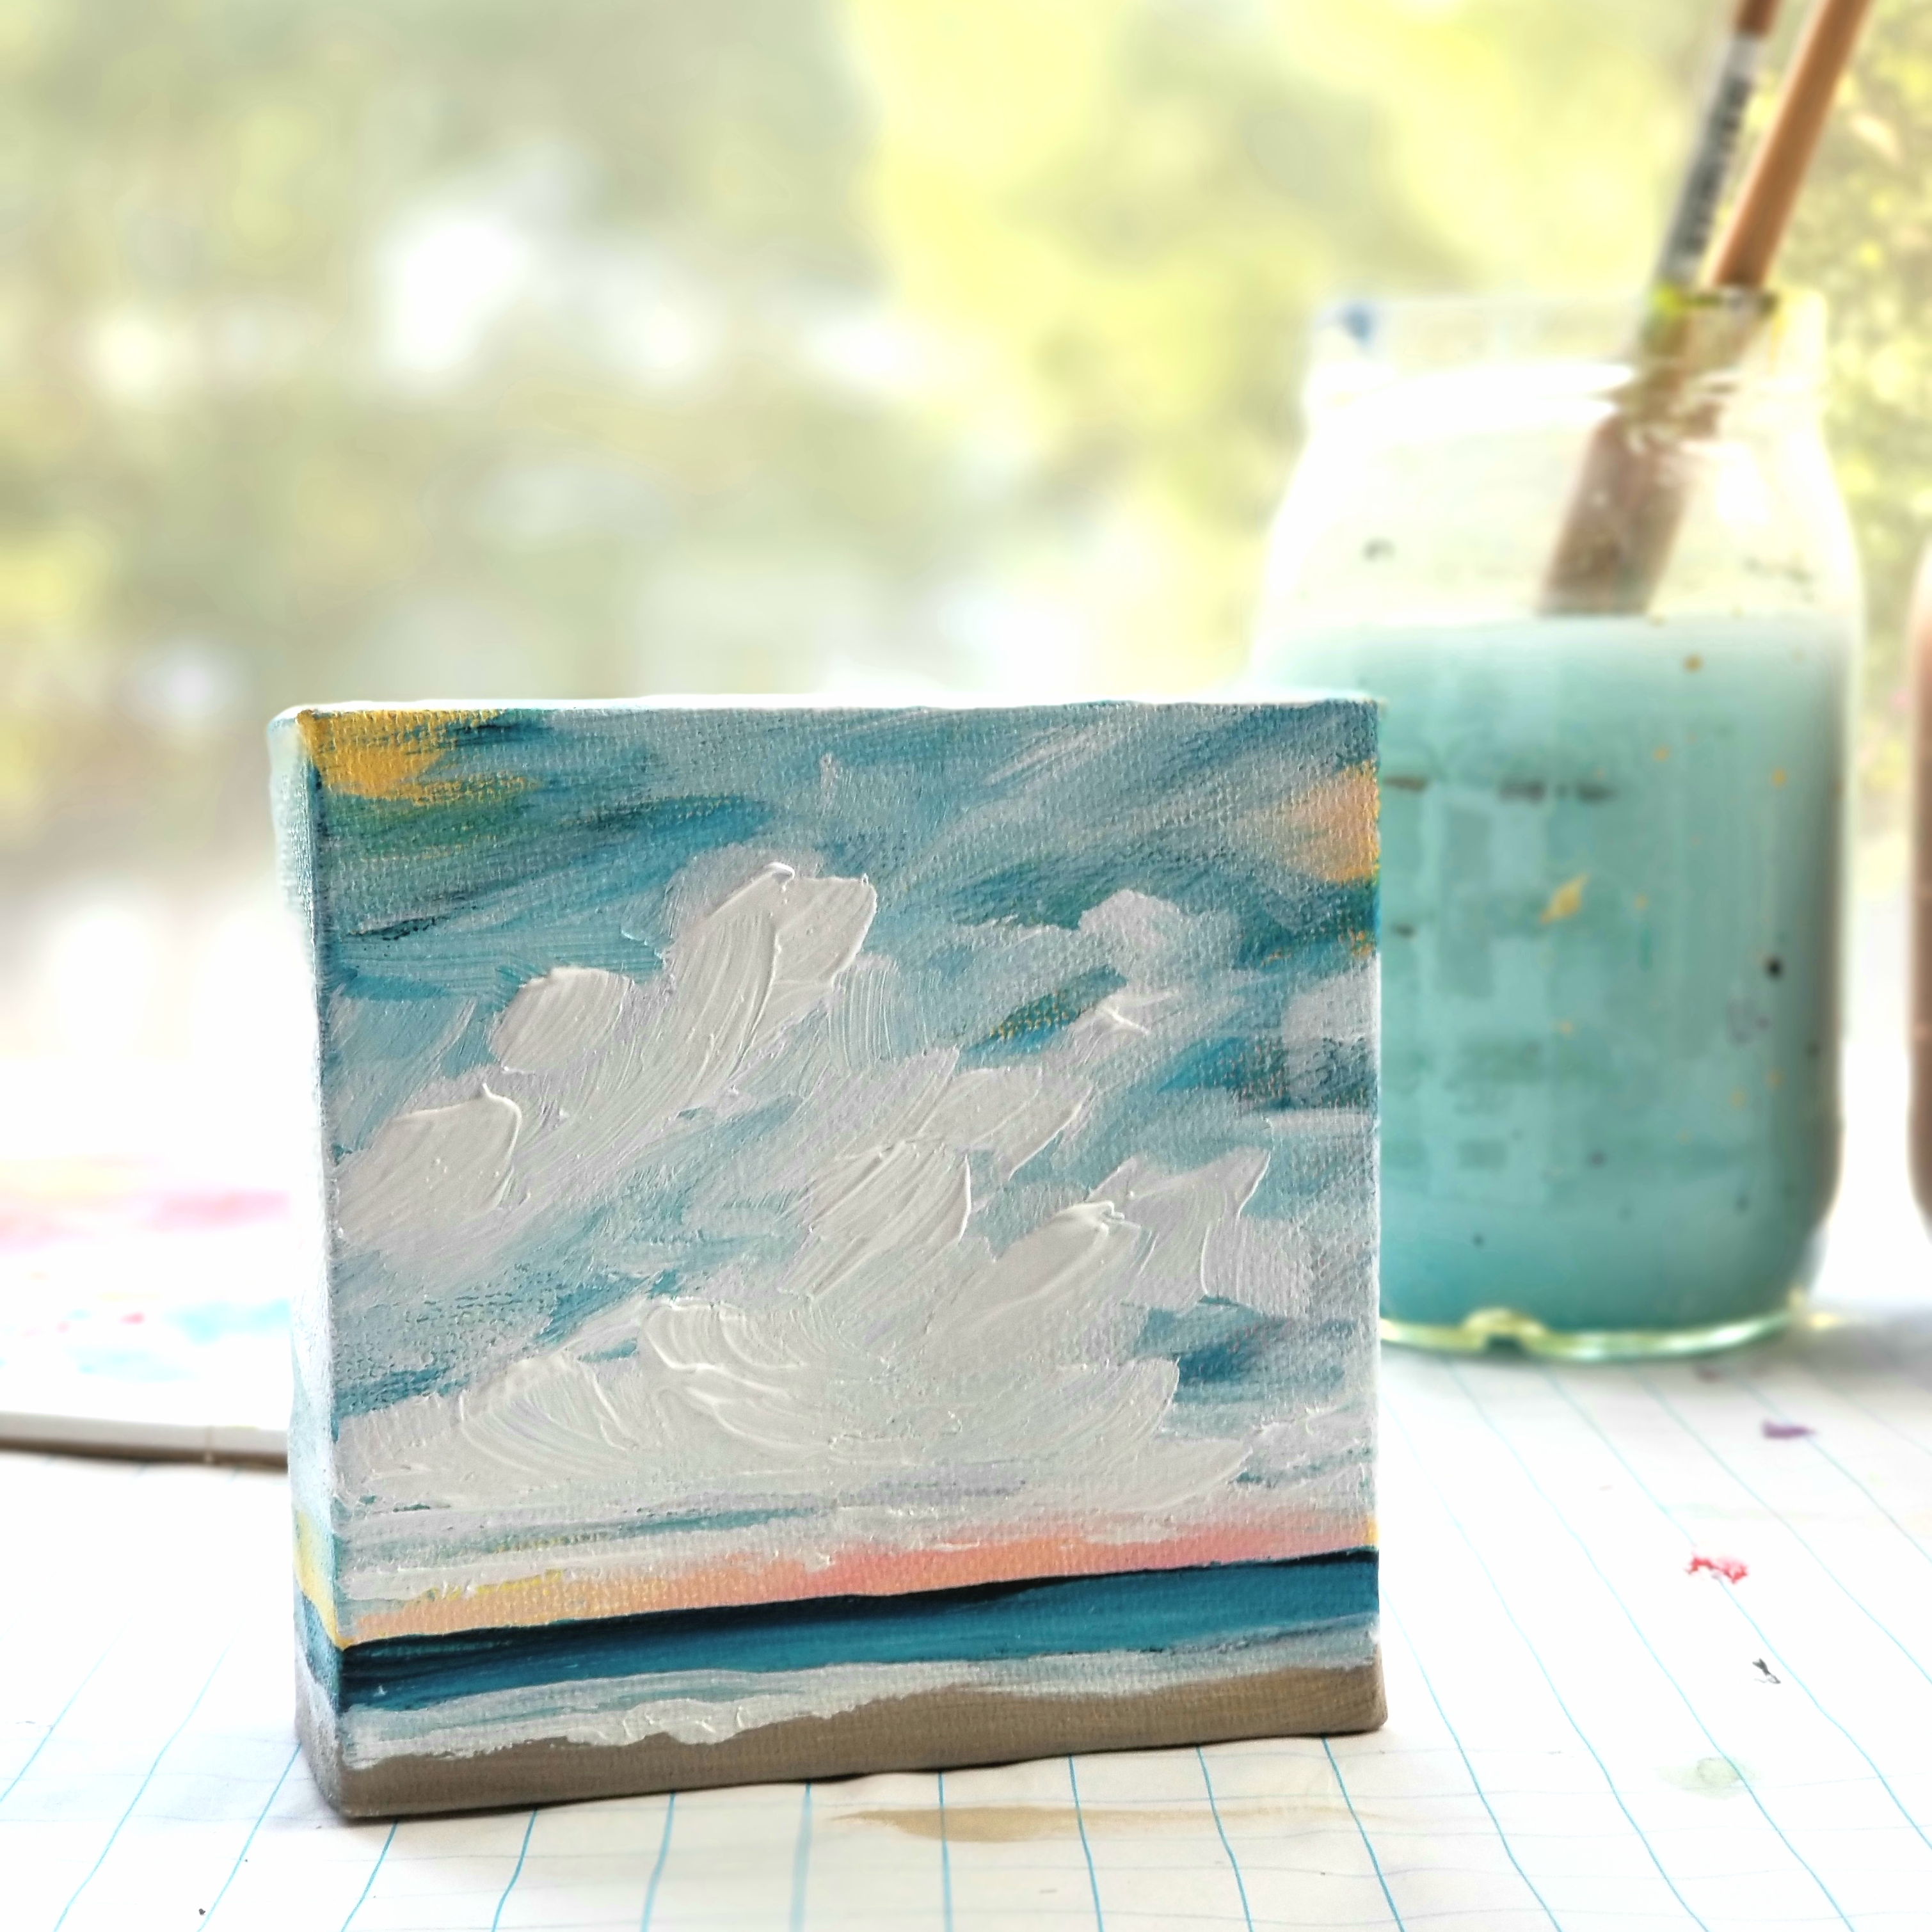
STEP SEVEN 🔵 The final marks, the grand finale, the last details you need to pull everything together. The same uneven marks of the clouds, can be made across the water where the waves break. Adding another pop of thick white paint to the sky might just make the whole thing come together. You decide, just don't forget the sides! Voila!
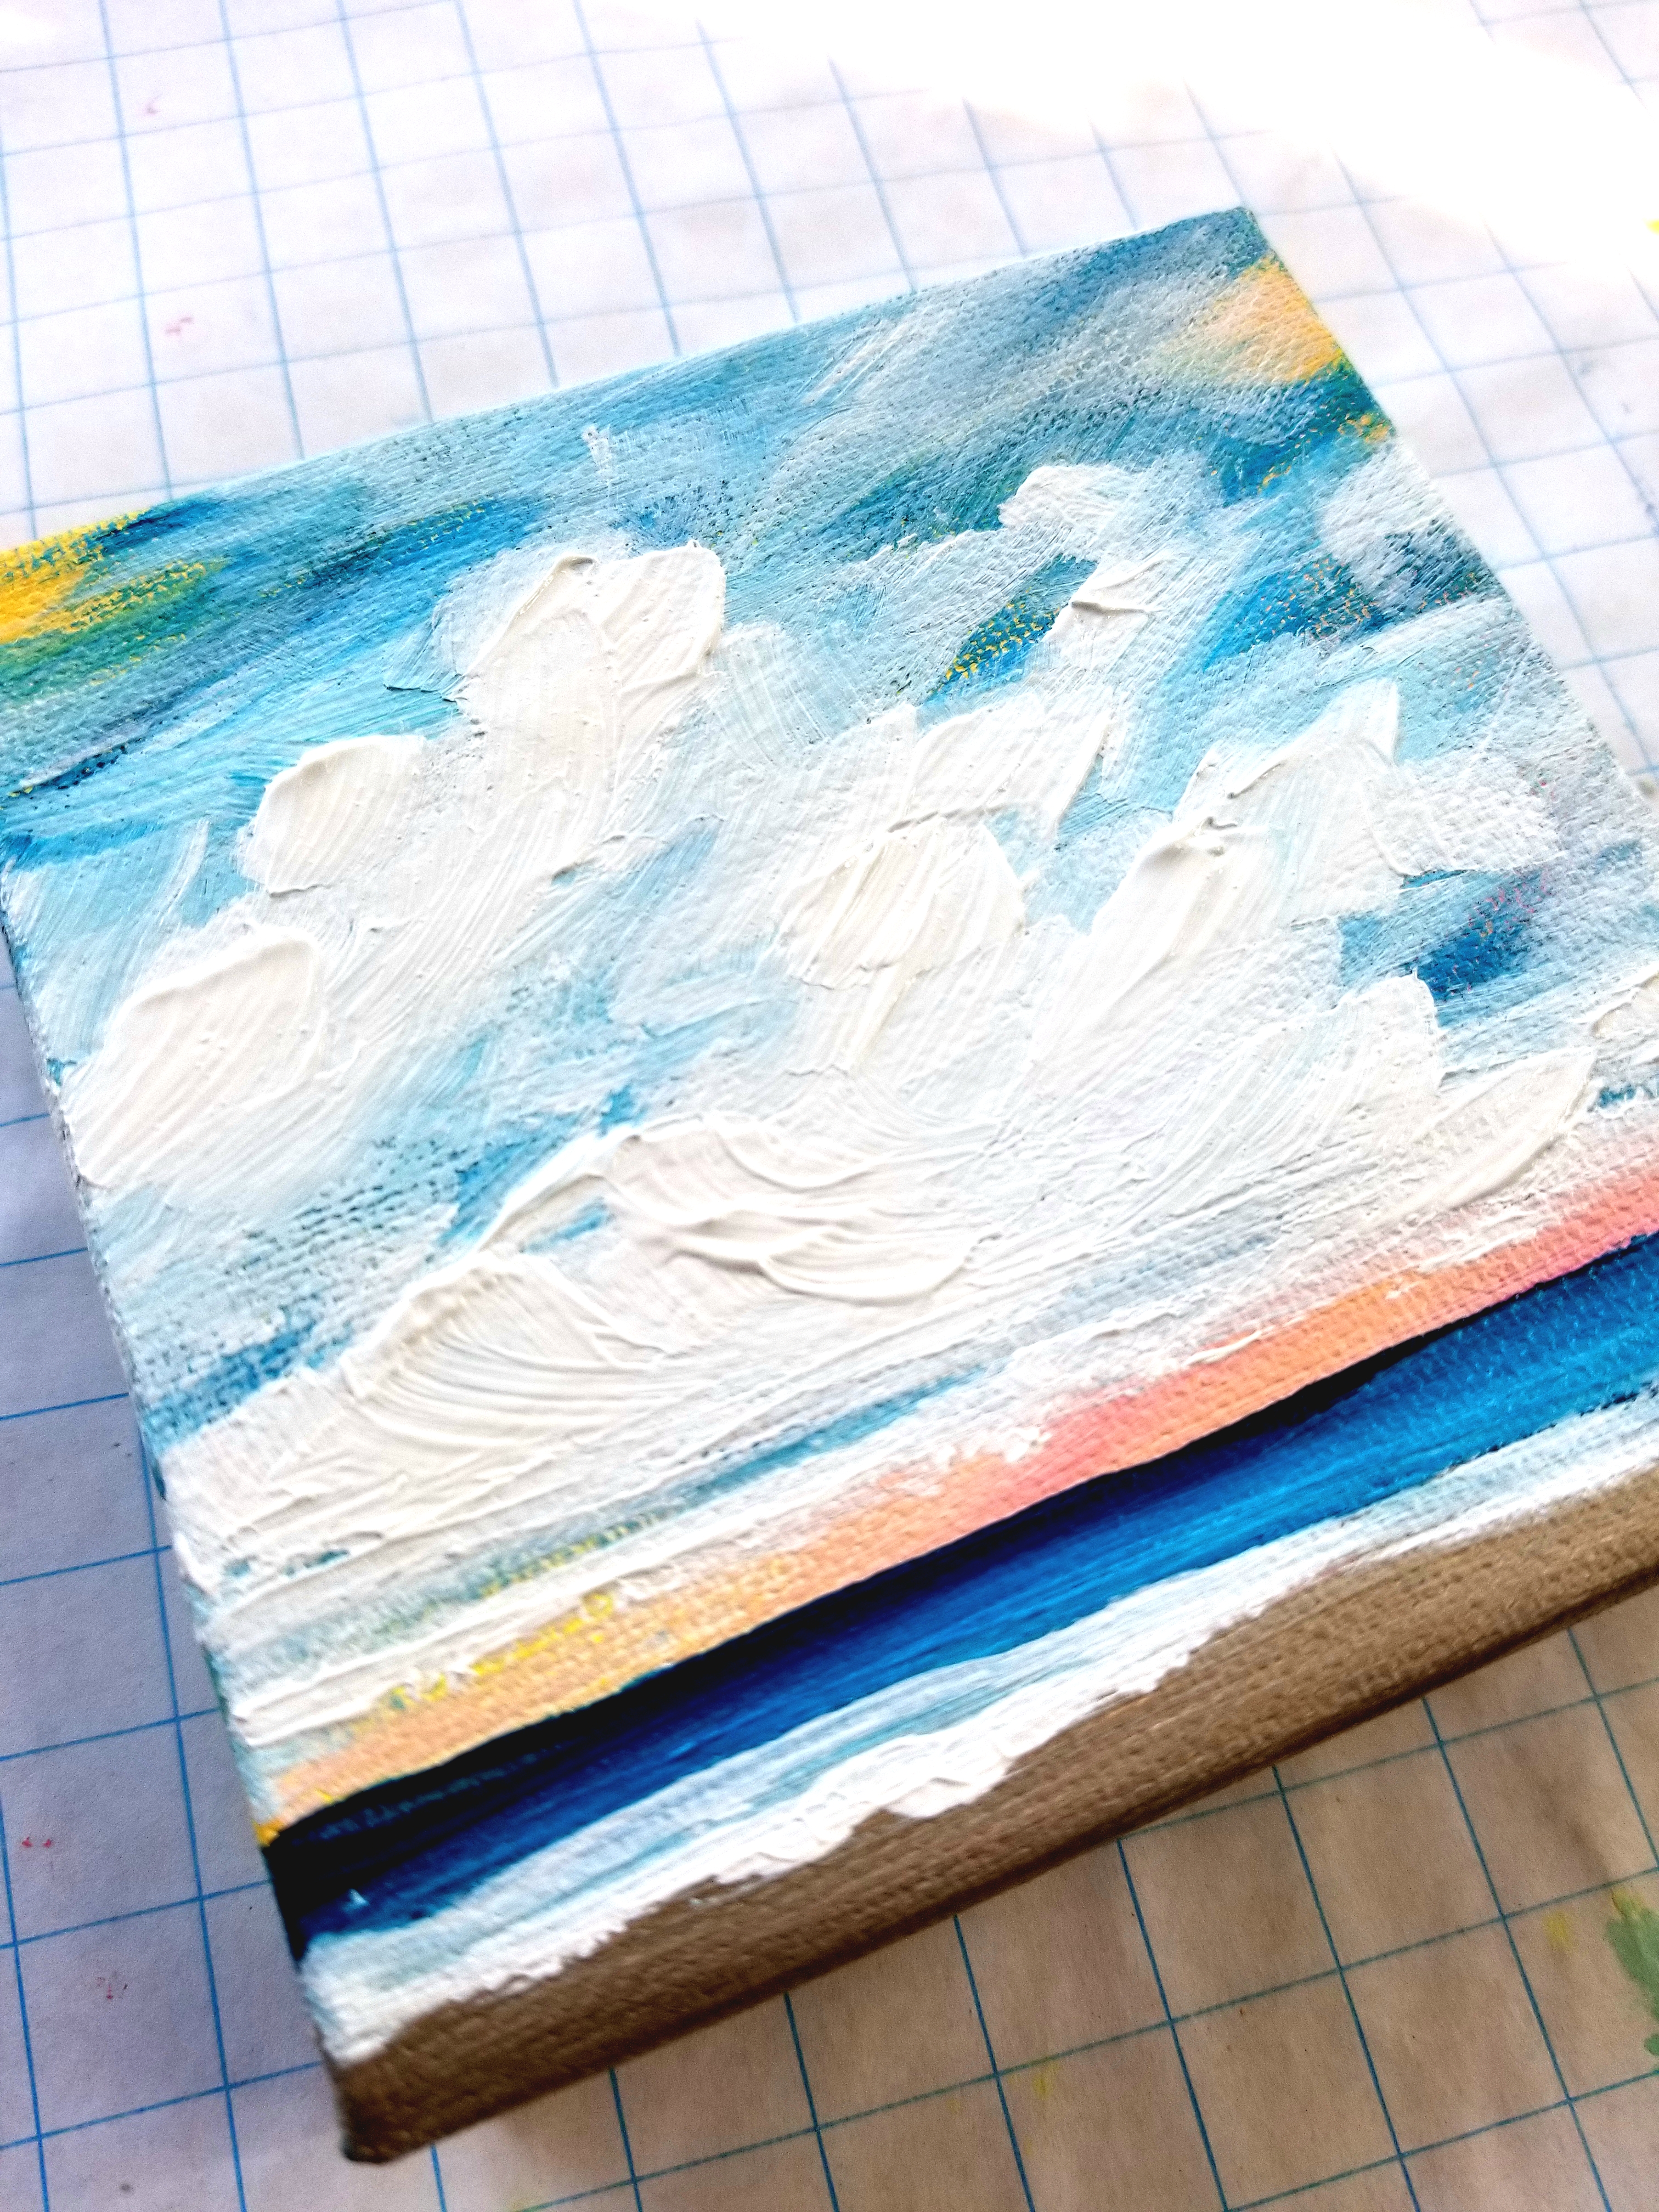
Don’t forget, once you have finished, let these babies dry completely. It can usually take a couple of hours to try completely. Then you can sign your lovely masterpiece! We like to sign on the side, bottom, or back since it’s a smaller work of art, and we just stick with a good old permanent parker. Then it’s time to varnish…These mini seascapes look so rich and vibrant when you use gloss varnish! Brush on, let dry, and in case you didn’t catch it before, don’t forget the sides 😉
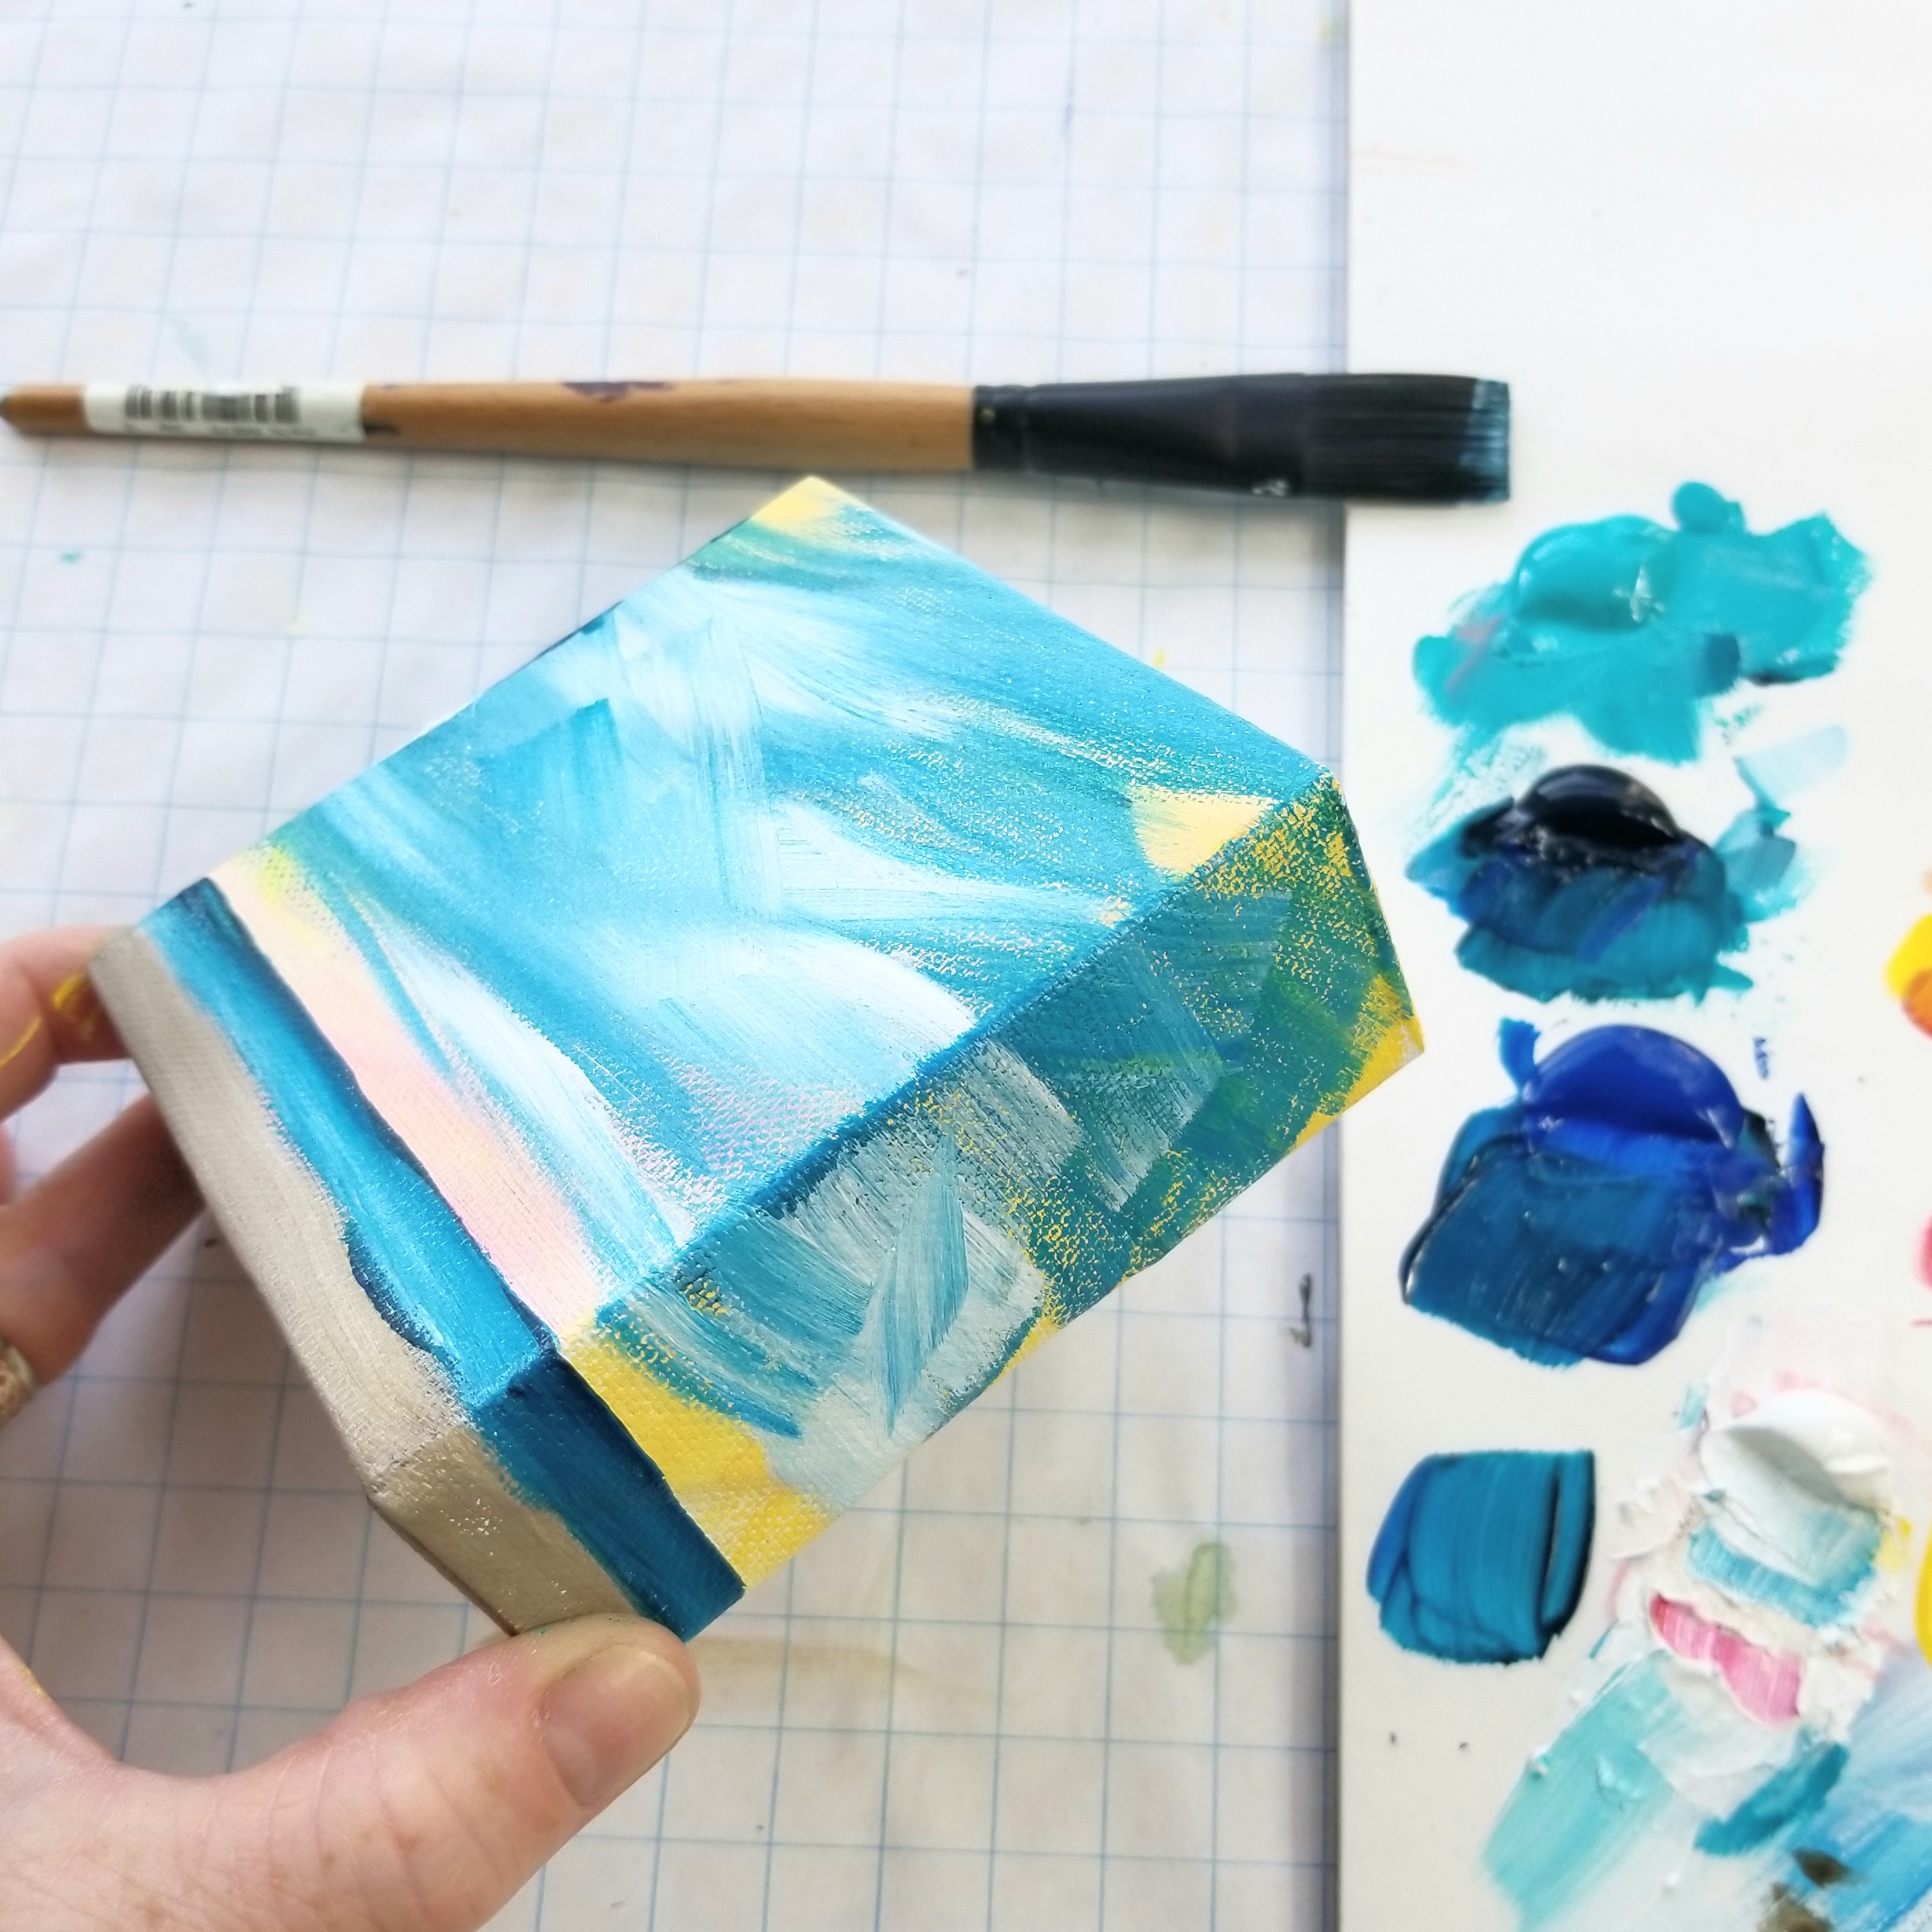
It's your job to take these ideas and make them your own. Learn, grow, and discover your own voice by showing up and continuing to practice your art. You must make your art to know how to make your art! Are you an artist? Did you make something? Then yes...you are an artist.
Enjoy where you are now, whether at the beginning or seasoned, because it's in these very moments, these details, that we discover who we really are and keep moving toward what we want to be.
There is an endless ocean of possibilities to explore with our art, and our untapped potential is as deep as the blue sea.
💙 🌊
Try Out This Course: Seascape Escape!


