
Making Mixed Media: 8 Easy DIY Tips

How many patterns can you make?
It’s up to you what you mark next… In the end, you’ll have lots of original papers and tools, which means your mixed media artwork will authentically be YOU. Mixed Media Expressions is really a deep pleasure to explore because the techniques and texture and natural wonder of it all can keep you curious for ages.
If you love mixed media but are always looking for a way to personalize all of your marks, layers, papers, and images, carving a stamp or making your own pattern paper, these 8 tips are essential. There's nothing more satisfying than making art with your own art!
Here are some quick, easy, CHEAP, ideas to try for finding and creating some mixed media resources in your home.
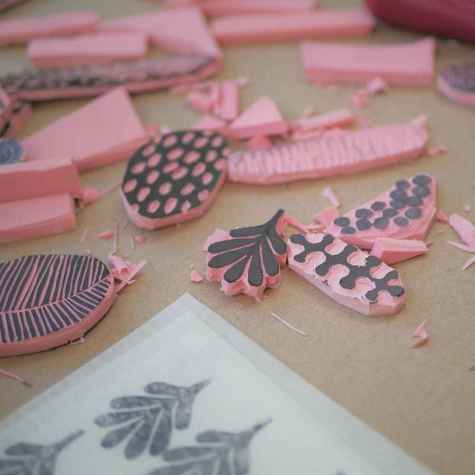
1. Scrap Rubber Stamps- Use the leftover scraps from stamp carving or pink erasures. Also, use the simple lino carving tools with interchangeable tips. Be playful about your designs, think texture. Trim the excess rubber so it doesn’t leave a mark. Test your stamp for stray rubber pieces. Carve a little more and clean them up as needed. Start stamping!
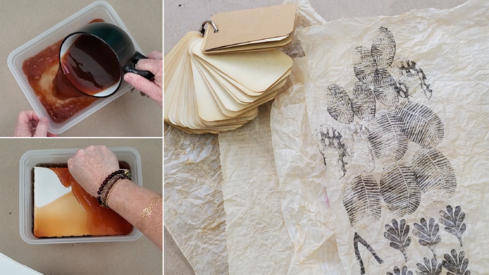
2. Tea Stained Paper - Start by brewing very strong tea (I used about 5 teabags), then add any fabric or paper material that you want to stain. You are going to let this sit for 20 minutes, or longer if you would like your pieces stained darker. Try different sizes and textures: tags, small journal pages, larger scraps, and different fabrics, the world is your oyster. Let your pieces completely dry by hanging them or laying them out on paper towels, and then make some art!
3. Cut out images or printables - Find copyright-free images or use your own photos. Print on heavy paper to make stencils Or thinner paper for collage and transfers Cutting your own means you have unique and detailed images to work with in your mixed media
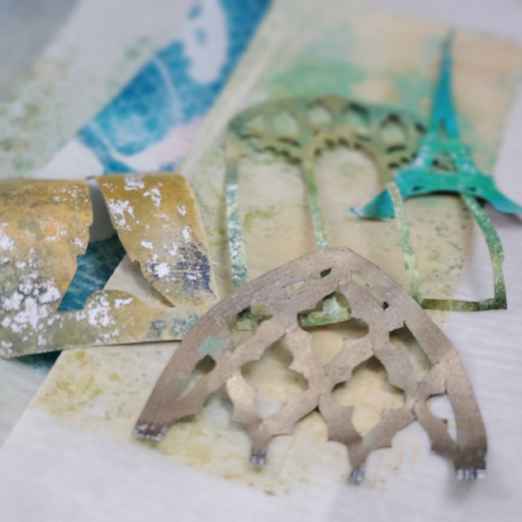
4. Create your own Papers and Tools - If you’d like to make a stencil, print out images or designs on heavyweight paper and cut them out. Or use thinner paper for collages and transfers. Cutting out your own means you have unique and detailed images to work into your mixed media. Old travel and nature magazines for textures and great images, old mail (have you seen the design on the inside of security envelopes?), calendars, and book pages. Also - look for TEXTURES, we are talking about those old lace curtains collecting dust in the closet, packing materials (bubble wrap anyone?), or cartons/cardboard.
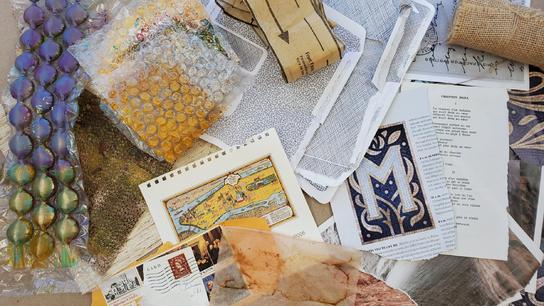
Anything can make a new pattern or create something you have not seen before, so go wild with it! 🦁
5. Keep your Tea Bags - Let the teabags dry completely before disassembling, then you are going to start by removing the tags and staples. Open them carefully and discard the dried tea. Tear gently at the seams of the tea bag, and you can flatten and save these textures to use later!
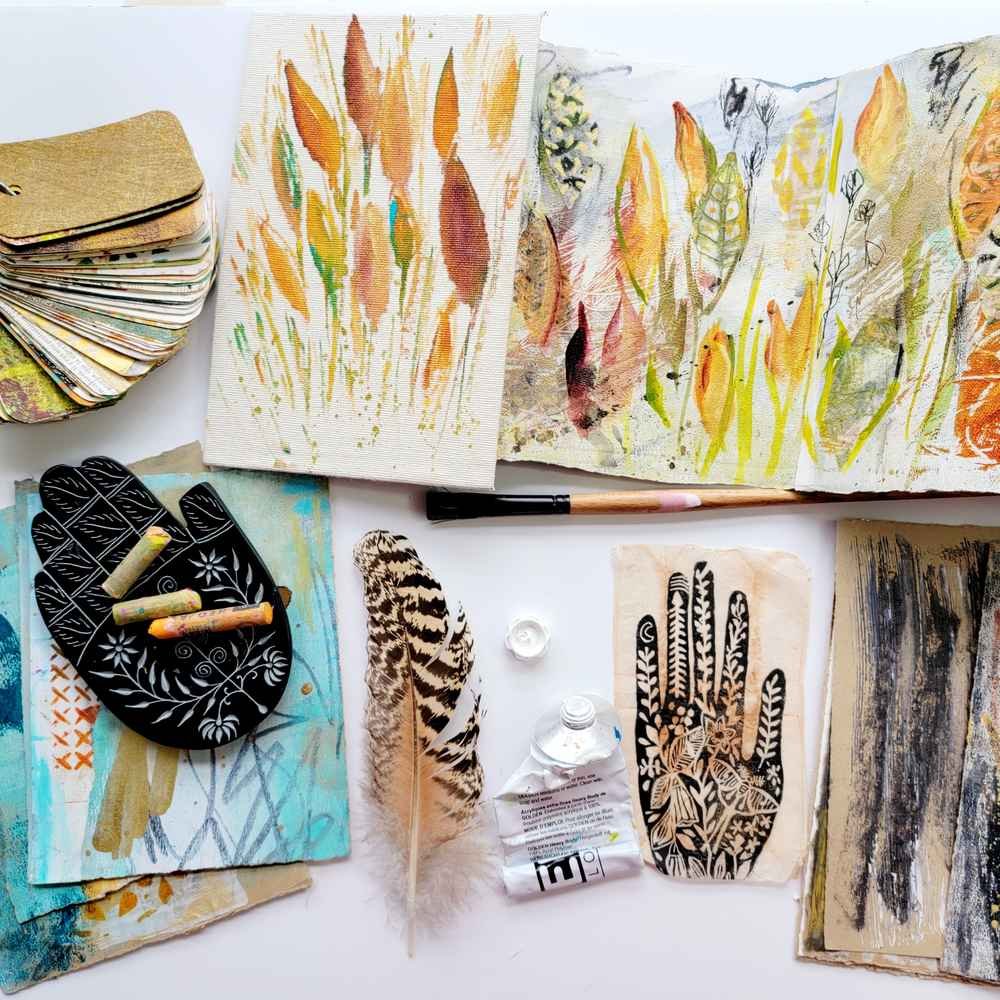
6. Make Strange Texture Brushes - I want you to look around the house, and start thinking “what can paint?” Start by using chopsticks for your handles. Bundled twine, bundled yard, feathers, or q-tips all make great DIY brushes. Tie them and tape them to your handle to secure them. These do not have to be perfect, or last forever, it’s just for playing with, and if you like them - make some more! Use some thinned-out paint and make your mark - What else can you use to make a texture brush?

What else can you make? Shapes? Forms? Patterns? ♦️♣️♥️♠️
7. Rust your Page - Gather random pages, deli paper, or copy paper and lay these out on a tray or some type of lipped surface that can hold the materials flat for a long period of time. Mix together a solution of 50/50 water and vinegar and spray the materials with this solution. Then, place a rusty metal piece randomly, or in a pattern, and spray with more vinegar solution. Cover your art with plastic wrap to keep wet and let sit for at least several hours, or overnight for best results. You can even cover the top with fabric or muslin and you will also see the rust color transfer to this as well.

8. Bottle Cap Collection - Have you taken a look at your recycling lately? How great is it to make a perfect circle, everyone loves circles. Go grab different caps - Jars, bottles, different sizes, maybe some have ridges on them. Then stamp patterns onto the pages that you have created, it’s up to you how to use these tools. Try different caps, try different paints, we want you to have fun making new art!

Art can be used as an outlet and a guiding light in the midst of a wild life. After teaching more than 10,000 students, online and in-person, we have come to see that what people really crave is permission to enjoy the process and create without fear.
We do that in every course of Color Crush.
Check out our Course Catalog
We want you to find your own voice and place in this wide world 🌍 by expressing yourself creatively.
Let’s go on this journey together!